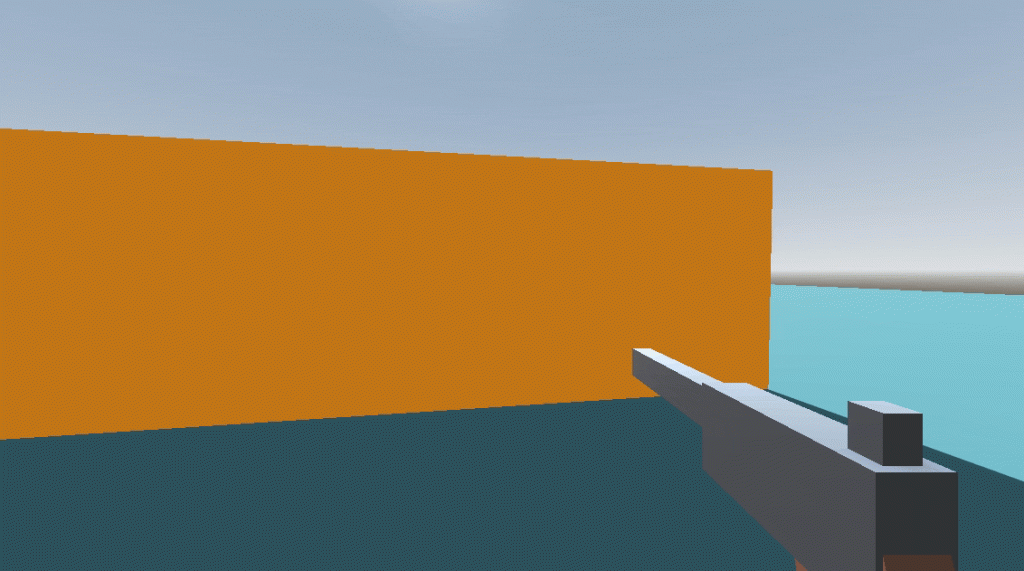
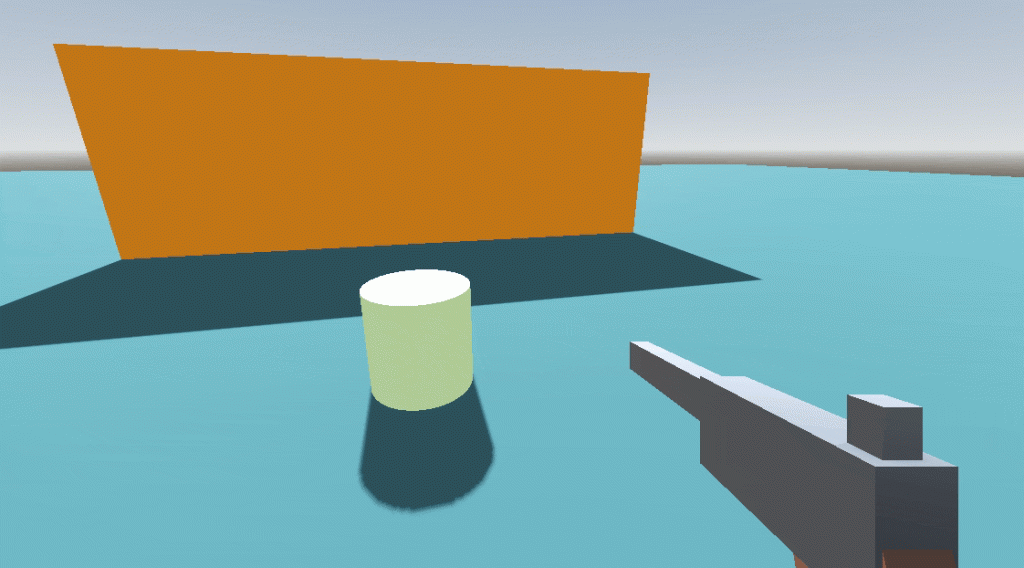
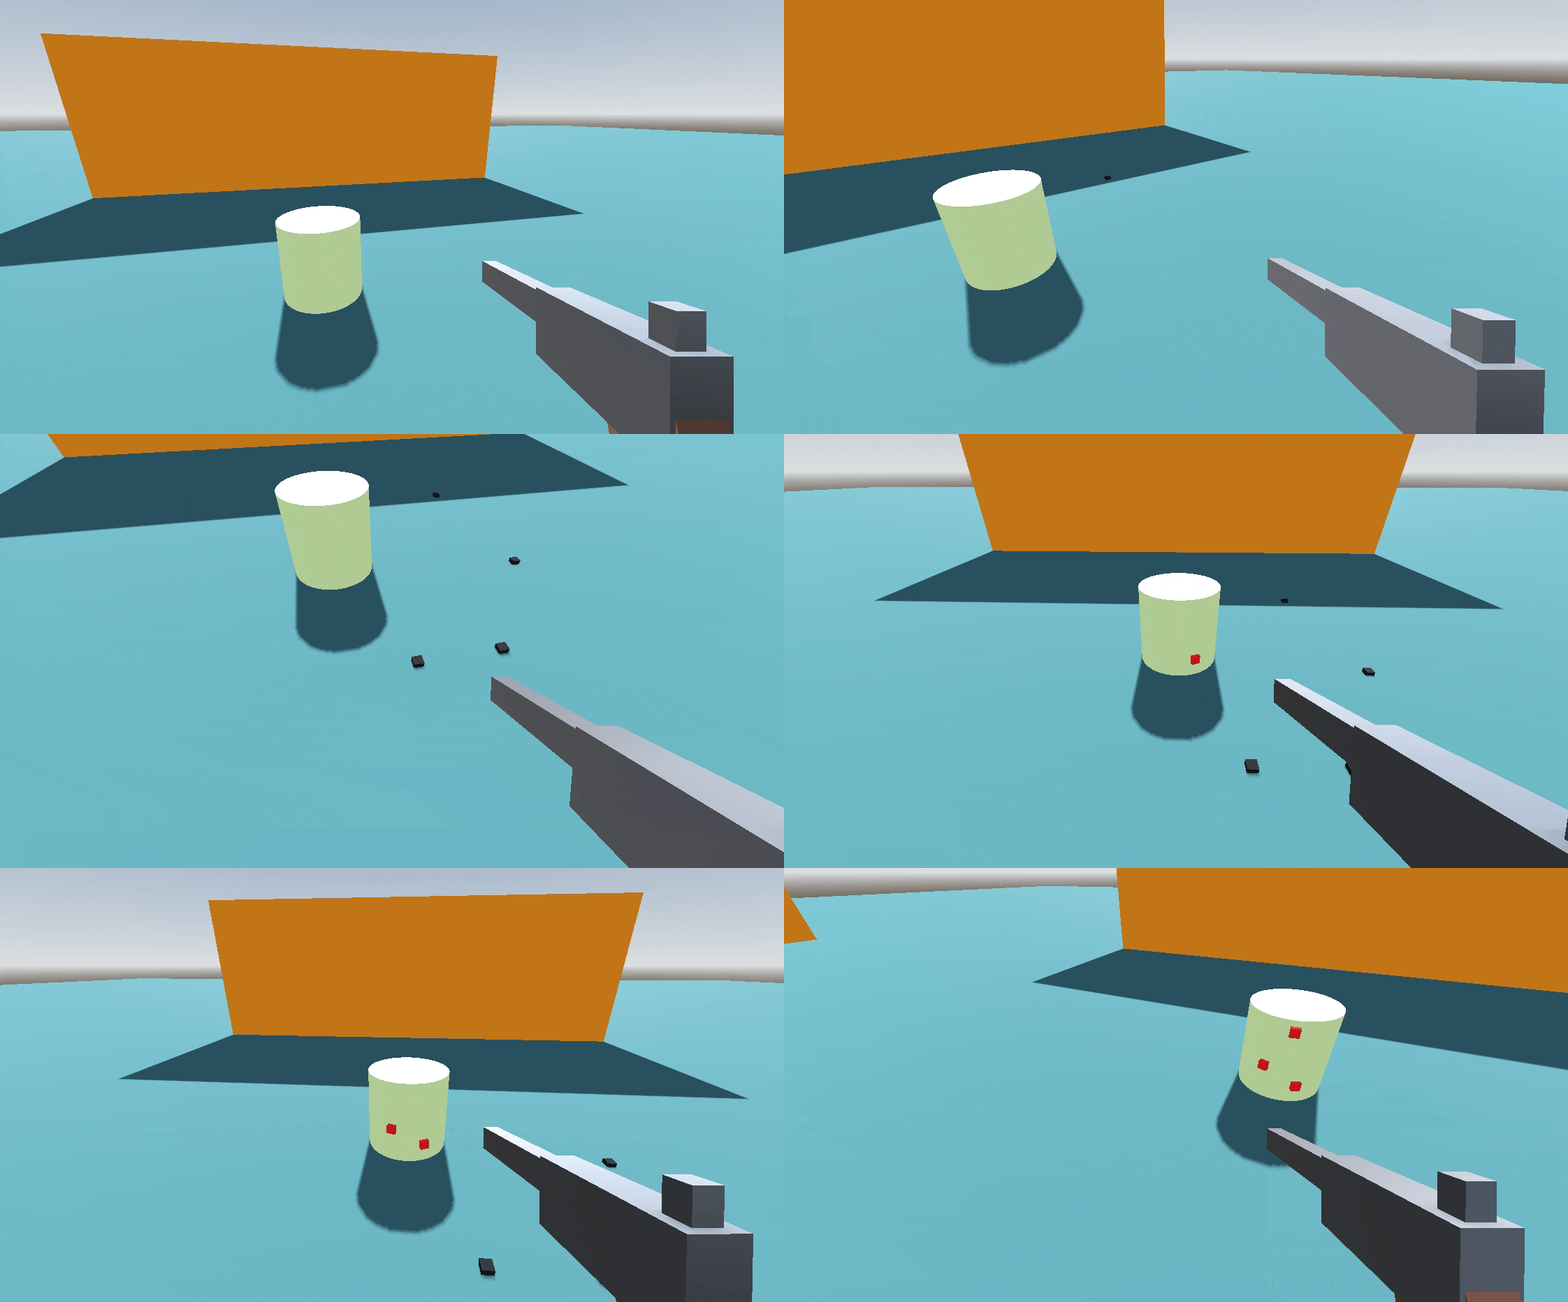
This post is part of Godot FPS tutorial series.
Concept: In this tutorial, we’ll implement the systems that provide that crucial feedback, making our revolver feel satisfying and powerful.
In our last session, we brought our first weapon to life. We have a functional revolver that can fire, reload, and use ammo. It works, but it lacks impact. There’s no kick when you fire, and every surface reacts the same way when hit.
Today, we’re adding the “juice”. We will build two critical systems for game feel:
- Additive Recoil: We’ll make the gun kick back and rotate realistically when fired, then smoothly recover back to its resting position. This is a core component of how an FPS weapon should feel.
- Dynamic Hit Impacts: Instead of spawning the same placeholder cube everywhere, we’ll build a system that can spawn different effects based on what we hit. A shot to a wall will be different from a shot to an enemy.
Just like last time, we’re focusing on building the machinery. The visual effects themselves will be simple placeholders (cubes of different colors), but the underlying system will be robust and ready for fancy particle effects later.
Implementing the Recoil System
Our goal is to create a smooth, satisfying recoil effect. The best way to do this is with an “additive” recoil system.
The Concept: Instead of using a complex animation, we’ll do something simpler and more flexible.
- When the gun fires, we’ll instantly add an offset to its position (kicking it back) and rotation (tilting it up).
- Then, every frame, the gun will constantly try to “spring” back to its original resting position.
This creates a snappy kick followed by a smooth recovery. Let’s implement it.
Update WeaponData.gd
First, our WeaponData resource needs to know how much recoil a weapon should have.
- Open
WeaponData.gd. - Add the following variables to the script (if not already present). A good place is in a new “Recoil” category.
# Add these to WeaponData.gd

@export_category("Feel")
@export var recovery_speed: float = 7.0 # How quickly the weapon returns to center

@export_category("Recoil")
@export var recoil_kickback: float = 0.1 # How far back the weapon kicks on the Z axis
@export var recoil_rotation_degrees: Vector3 = Vector3(-5, 2, 0) # How much it rotates (X, Y, Z)
Update WeaponEquipped.gd
Now, let’s write the logic in our base weapon script that reads these new values and applies the recoil.
- Open
WeaponEquipped.gd. - We need to store the weapon’s original, “resting” state. Add these variables near the top:
# Add these to WeaponEquipped.gd
var _original_model_position: Vector3
var _original_model_rotation: Vector3In the _ready() function, we’ll capture that resting state as soon as the weapon spawns.
# Modify the _ready() function in WeaponEquipped.gd
func _ready() -> void:
	if weapon_model:
		_original_model_position = weapon_model.position
_original_model_rotation = weapon_model.rotationNext, create the function that will apply the recoil “kick”. This function directly modifies the weapon_model‘s transform.
# Add this new function to WeaponEquipped.gd
func apply_recoil(kickback_amount: float, rotation_kick_degrees: Vector3) -> void:
	if not weapon_model: return

	# Apply positional kickback (move backward along its local Z axis)
	weapon_model.position.z += kickback_amount

	# Apply rotational kick
	weapon_model.rotate_object_local(Vector3.RIGHT, deg_to_rad(rotation_kick_degrees.x))
	weapon_model.rotate_object_local(Vector3.UP, deg_to_rad(rotation_kick_degrees.y))
weapon_model.rotate_object_local(Vector3.FORWARD, deg_to_rad(rotation_kick_degrees.z))Finally, we add the “spring” logic. The _process() function is perfect for this. Every frame, it will smoothly interpolate the weapon’s current position back towards its original state.
# Add the _process function to WeaponEquipped.gd
func _process(delta: float) -> void:
	if not weapon_model or not weapon_data:
		return

	# Smoothly interpolate the model's position and rotation back to their original values
	weapon_model.position = weapon_model.position.lerp(_original_model_position, weapon_data.recovery_speed * delta)
weapon_model.rotation = weapon_model.rotation.lerp(_original_model_rotation, weapon_data.recovery_speed * delta)Update the Revolver Script
The base weapon now knows how to recoil. We just need to tell our revolver when to do it.
- Open
RevolverEquipped.gd. - Modify the
attack()function to call our newapply_recoilfunction.
# Modify attack() in RevolverEquipped.gd
func attack() -> void:
	# First, check if we can even fire
	if not can_fire():
		return

	# Perform the hitscan logic (this also consumes ammo)
	fire_hitscan()

	# After firing, apply the recoil using the values from our data resource
	apply_recoil(weapon_data.recoil_kickback, weapon_data.recoil_rotation_degrees)
Now our recoil system is complete!

Building the Dynamic Hit Impact System
Let’s build the machinery to spawn different effects for different surfaces. The logic will be: when our raycast hits an object, we’ll check what group that object belongs to and spawn a matching effect.
The WeaponImpact Resource
We need a new blueprint, this time for defining an impact effect.
- In the
Weaponsfolder, create a new subfolder calledVFX, and inside that, another calledHitImpacts. - Inside
HitImpacts, create a new script namedweapon_impact.gd.
# weapon_impact.gd
class_name WeaponImpact
extends Resource

# The scene to spawn on impact (e.g., a dust puff or blood splatter)
@export var impact_scene: PackedScene

# The group the hit object must belong to for this impact to be used.
# If left empty, this is treated as the "default" impact.
@export var group_name: String = ""
2.2 Create Placeholder Impact Scenes
We need scenes to spawn. For now, they will just contain a colored cube and a script to delete themselves after a moment.
- Create a new folder
Weapons/VFX/HitImpacts/VFXScenes. - Default Impact (Black Cube):
- Create a new scene with a
Node3Droot. Name itDefaultImpactVFX. - Add a
MeshInstance3Dchild with aBoxMesh. Set its size to(0.1, 0.1, 0.1). - Create a new
StandardMaterial3Dfor the mesh and set itsAlbedocolor to black. - Add a
Timernode. In the Inspector, set itsWait Timeto2.0and enableAutostartandOne Shot. - Attach a script named
impact_vfx_scene.gd. - Select the
Timernode, go to the Node dock -> Signals, and connect itstimeoutsignal to the rootDefaultImpactVFXnode. This will create a function. In that function, add one line:queue_free(). - Save the scene as
DefaultImpactVFX.tscnVFXScenesfolder.
- Create a new scene with a
- Blood Impact (Red Cube):
- Right-click
DefaultImpactVFX.tscnBloodSpillVFX.tscn. - Open the new scene. Select the
MeshInstance3Dand change its material’sAlbedocolor to red. - Save the scene.
- Right-click
We now have two distinct effect scenes ready to be spawned.
Create the WeaponImpact Resources
Now we’ll use our WeaponImpact blueprint to define our two impact types.
- In the
Weapons/VFX/HitImpactsfolder, right-click -> New -> Resource… and selectWeaponImpact. Save it asdefault_impact.tres. - Select
default_impact.tres. In the Inspector:- Drag
DefaultImpactVFX.tscnImpact Sceneslot. - Leave
Group Nameempty. This is our default.
- Drag
- Create another
WeaponImpactresource namedblood_impact.tres. - Select
blood_impact.tres. In the Inspector:- Drag
BloodSpillVFX.tscninto theImpact Sceneslot. - Set
Group Nameto"mortals".
- Drag
Upgrade the WeaponData and WeaponEquipped Scripts
Our weapon needs to know about its available impacts.
Open WeaponData.gd and add the new array property, probably in the “Feel” category.
# Add to WeaponData.gd
@export var impacts: Array[WeaponImpact]Now, open WeaponEquipped.gd. We’re going to replace our old “spawn a red cube” logic with our new dynamic system.
- First, add a new function to handle the logic.
# Add this function to WeaponEquipped.gd
func _spawn_impact_effect(hit_point: Vector3, hit_normal: Vector3, collider: Object) -> void:
	if not weapon_data or weapon_data.impacts.is_empty():
		return

	var default_impact_scene: PackedScene = null
	var specific_impact_scene: PackedScene = null

	# Loop through all possible impacts for this weapon
	for impact_data in weapon_data.impacts:
		if not impact_data: continue

		# If the group name is empty, this is our fallback default
		if impact_data.group_name.is_empty():
			default_impact_scene = impact_data.impact_scene

		# If the thing we hit is in the specified group, we have a specific match!
		elif collider and collider.is_in_group(impact_data.group_name):
			specific_impact_scene = impact_data.impact_scene
			break # We found the best match, no need to search further

	# Decide which scene to spawn. Prioritize the specific one.
	var scene_to_spawn = specific_impact_scene if specific_impact_scene else default_impact_scene

	# If we found a scene, spawn it!
	if scene_to_spawn:
		var impact_instance = scene_to_spawn.instantiate()
		get_tree().get_root().add_child(impact_instance)

		impact_instance.global_position = hit_point
		# This makes the effect face away from the surface it hit
impact_instance.look_at(hit_point + hit_normal)Finally, modify fire_hitscan() to use this new function. Delete the old placeholder code.
# Modify fire_hitscan() in WeaponEquipped.gd
func fire_hitscan() -> void:
	# ... (can_fire check, consume_ammo, raycast setup remains the same) ...

	var result = space_state.intersect_ray(query)

	if result:
		var collider = result.collider
		var hit_point = result.position
		var hit_normal = result.normal

		# --- THIS IS THE REPLACEMENT ---
		# Remove the old 'hit_marker' code and replace it with this one line.
		_spawn_impact_effect(hit_point, hit_normal, collider)

		# The rest of the function (deal_damage emit) remains the same.
deal_damage.emit(weapon_data.damage, hit_point, hit_normal, collider)Putting It All Together
The systems are built. Let’s connect everything.
- Assign the “mortal” Group:
- Open
Player.tscn. - Select the root
Playernode. - In the Inspector, click the
Nodetab (next toInspector). - Go to
Groups, type"mortals"into the box, and click “Add”. Your player is now a “mortal” entity.
- Open
- Configure the Revolver:
- In the FileSystem, find and select
revolver.tres. - In the Inspector, set the new recoil values. Good starting values are:
- Recovery Speed:
7 - Recoil Kickback:
0.18 - Recoil Rotation Degrees:
(X: -12, Y: 3, Z: 0)
- Recovery Speed:
- Find the
Impactsarray property. Set its size to2. - Drag
default_impact.tresinto the first slot. - Drag
blood_impact.tresinto the second slot.
- In the FileSystem, find and select
Final Test
You’re all set. Run the game!
- When you fire, the revolver should now have a noticeable kick and then smoothly return to its position. Tweak the recoil values in
revolver.tresto get the feel you want! - Shoot a wall or the floor. A black cube should appear at the point of impact.
- For testing mortals, make a
StaticBody3Dnode with aCollisionShape3Dnode as its child and aMeshInstance3Dattached. Give the static body “mortals” group, now run the game and shoot it. A red cube should appear. You’ve just tested the group-based impact system!

Congratulations! You’ve added two huge components of FPS game feel. Our weapon now feels more dynamic and responsive to the world. The best part is that to create a new impact effect (e.g., for hitting metal), you just need to create a new scene and a new WeaponImpact resource—no extra coding required.
In later tutorials, we will eventually replace our cubes with some particle effects so the effects look cool.
In next tutorial, we will make an interaction system that will allow us to interact with & pick weapons that are thrown.

