This post is part of Godot FPS tutorial series.
Concept: We’re going to build a reusable, component-based interaction system. This will allow our player to interact with objects in the world, with weapon pickups being our primary goal.
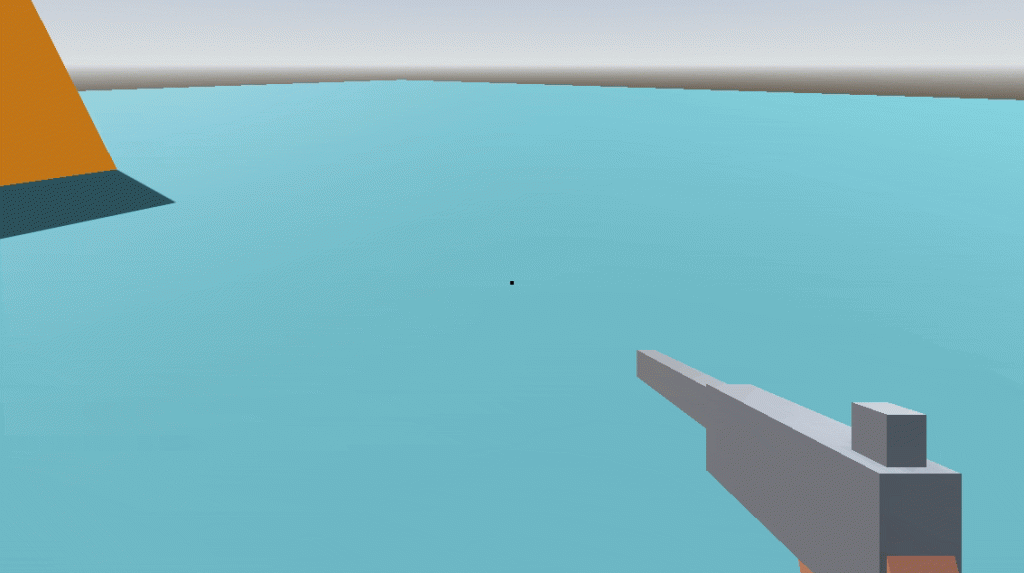
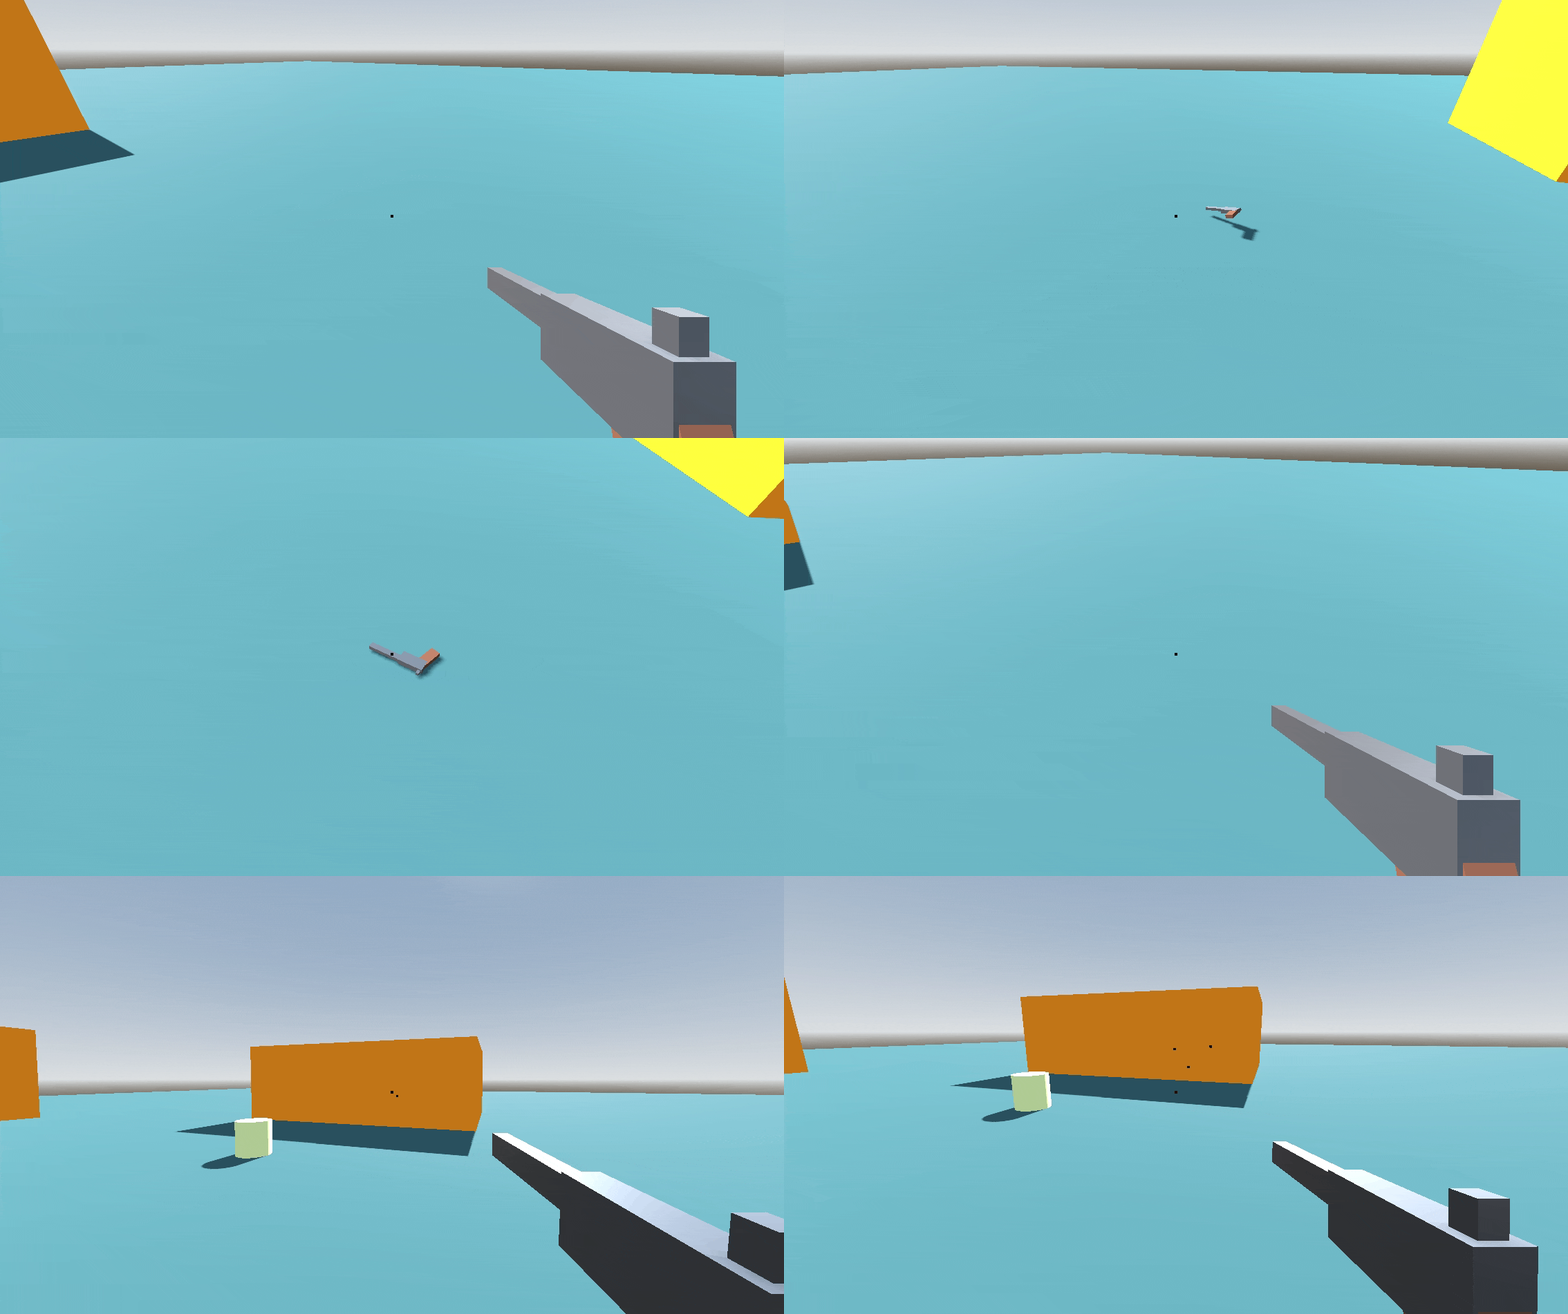
So far, our weapons feel pretty good. They shoot, they kick, and they react to different surfaces. We can even throw our revolver by pressing ‘G’. But then it just sits there on the ground, a sad monument to our inability to pick it back up. Today, we fix that.
Here’s the plan:
- Build the
InteractorComponent: This is the “hands” of our player. A raycast that constantly looks for things to interact with. - Build the
InteractableComponent: This is a “handle” we can attach to any object in the world to make it interactive. - Integrate the System: We’ll add the
Interactorto our player and update ourWeaponPickupscene to use theInteractablecomponent. - Bonus – The Alarm: To prove how reusable our new system is, we’ll quickly create a simple alarm that the player can turn on and off.
By the end of this tutorial, you’ll be able to throw your revolver, walk over to it, and pick it right back up.
The Interactor – The Player’s Hands
The Interactor is a component that lives on the player and is responsible for detecting things that can be interacted with. We’ll build it as a RayCast3D.
- Create a new folder named
Components, and inside it, a folder namedInteraction. - In this new folder, create a new script called
Interactor.gd. This script will extendRayCast3D.
# Interactor.gd
class_name Interactor
extends RayCast3D

# Signals to tell the player what's happening
signal interactable_detected(interactable)
signal interactable_lost()

# A reference to the entity using this component (our player)
@export var owner_entity: Node

var current_interactable = null

func _ready() -> void:
	pass

func _physics_process(_delta: float) -> void:
	# Constantly check what we're looking at.
	var found_interactable = null

	if is_colliding():
		var collider = get_collider()
		# We check if the object we hit is an Interactable.
		# This is why the Interactable script will extend Area3D.
		if collider is Interactable:
			found_interactable = collider

	# Has the thing we're looking at changed?
	if found_interactable != current_interactable:
		# If we were looking at something before, we've now lost it.
		if current_interactable:
			interactable_lost.emit()
			print("Interactor: Lost sight of ", current_interactable.get_parent().name)

		current_interactable = found_interactable

		# If we are now looking at something new, detect it.
		if current_interactable:
			interactable_detected.emit(current_interactable)
			print("Interactor: Detected ", current_interactable.get_parent().name)

func interact() -> void:
	if current_interactable:
		# We tell the Interactable component to start the interaction,
		# passing in our owner so it knows who is interacting.
		current_interactable.start_interaction(owner_entity)
This script is simple but effective. Every physics frame, it checks if its raycast is hitting an Interactable object. It uses signals to notify the player when an interactable object is found or lost. The interact() function is what the player will call when they press the interact key.
The Interactable – A Handle for Any Object
The Interactable component is the other half of the system. It’s a “service provider” that you attach to any object to make it detectable by the Interactor. It will extend Area3D so our RayCast3D can detect it.
- In the
Components/Interactionfolder, create a new script calledInteractable.gd.
# Interactable.gd
class_name Interactable
extends Area3D

# This is what the player will see (e.g., "Pick up Revolver")
@export var interaction_prompt: String = "Interact"

func _ready() -> void:
	# Add this node to the "interactables" group so the Interactor can find it.
	add_to_group("interactables")

# This is the main function called by the Interactor.
func start_interaction(interactor: Node) -> void:
	# The key to this system is delegation. The Interactable component doesn't know
	# what to do. It tells its PARENT object to handle the logic.
	# We require the parent to have an "on_interaction_completed" function.
	if get_parent().has_method("on_interaction_completed"):
		print("Interactable: Interaction started with ", get_parent().name)
		get_parent().on_interaction_completed(interactor)
	else:
		printerr(get_parent().name, " does not have an on_interaction_completed function!")
This component’s job is to be detected and to pass the interaction command up to its parent object. This is what makes the system so reusable. The Interactable doesn’t care if its parent is a weapon, a door, or a light switch; it just tells the parent, “Hey, someone interacted with you. Do your thing.”
Integrating the System
Now let’s wire everything up.
Update the Player
- Open
Player.tscn. - Add an
Interactornode to the scene. The best place for it is as a child of theCamera3D, so it always points where the player is looking.- Right-click on
Camera3D-> Add Child Node ->RayCast3D. - Rename it to
Interactor. - While this node is selected, check
Collide With -> Areastotruein inspector. - Also, set its
Target Positiontox=0, y=0, z=-3so it points to forward 3 units. - Attach the
Interactor.gdscript to it.
- Right-click on
- Select the
Playerroot node. We need to add a reference to our newInteractor. OpenPlayerController.gdand add the export variable:
# Add to PlayerController.gd under the @export_group("Components")
@export var interactor: Interactor- Now, connect the
Interactorto the player script.- Select the
Playernode in the scene tree. - Drag the
Interactornode from the scene tree into the newInteractorslot in the Inspector. - Select the
Interactornode. - Drag the
Playernode into theOwner Entityslot in the Inspector.
- Select the
- Let’s add the input handling. First, define the action. Go to Project > Project Settings > Input Map. Add a new action called
interactand assign theEkey to it. - Now, in
PlayerController.gd, add the logic to the_inputfunction to call theinteract()method when the key is pressed.
# Add inside the _input(event) function in PlayerController.gd
if event.is_action_pressed("interact"):
    if interactor:
interactor.interact()Finally, let’s connect to the Interactor‘s signals so we can print feedback messages. Add these connections in the _ready function of PlayerController.gd.
# Add to the _ready() function in PlayerController.gd
if interactor:
	interactor.interactable_detected.connect(_on_interactor_detected)
interactor.interactable_lost.connect(_on_interactor_lost)And add the corresponding functions to handle these signals at the end of the script:
# Add these functions to the end of PlayerController.gd
func _on_interactor_detected(interactable: Interactable) -> void:
	# In the future, this will show a UI prompt.
	print("You can interact with: ", interactable.interaction_prompt)

func _on_interactor_lost() -> void:
	# In the future, this will hide the UI prompt.
print("Interaction prompt hidden.")The player is now fully equipped to interact with the world!
Update the WeaponPickup
Now, let’s make our thrown revolver Interactable.
- Open
RevolverPickup.tscn. - Add an
Interactablenode as a child of the rootRevolverPickupnode.- Right-click
RevolverPickup-> Add Child Node ->Area3D. - Rename it
Interactable. - Attach the
Interactable.gdscript to it.
- Right-click
- An
Area3Dneeds aCollisionShape3D. Add one as a child of theInteractablenode. - In the Inspector for the
CollisionShape3D, give it aSphereShape3Dand adjust its radius to be a bit larger than the weapon model. This is the “trigger” zone for interaction. - Now, open
WeaponPickup.gd. We need to implement theon_interaction_completedfunction that ourInteractablecomponent expects.
# Update WeaponPickup.gd
class_name WeaponPickup
extends RigidBody3D

@export var weapon_data: WeaponData
@export var interactable: Interactable # Add a reference to the component

func _ready() -> void:
	# Set the prompt dynamically based on the weapon's name.
	if interactable and weapon_data:
		interactable.interaction_prompt = "Pick up " + weapon_data.weapon_name

func set_weapon_data(data: WeaponData) -> void:
	weapon_data = data
	# Make sure the prompt updates if data is set after _ready
	if interactable:
		interactable.interaction_prompt = "Pick up " + weapon_data.weapon_name

# This is the function called by our Interactable component!
func on_interaction_completed(interactor: Node) -> void:
	# The 'interactor' is the player node that was passed in.
	# We can get its weapon_manager and tell it to pick us up.
	if interactor.has_method("get_weapon_manager"):
		var weapon_manager = interactor.get_weapon_manager()
		if weapon_manager:
			# The pickup_weapon function returns true on success.
			if weapon_manager.pickup_weapon(weapon_data):
				# If picked up successfully, remove the object from the world.
queue_free()The interactor node is the Player itself. It doesn’t have a get_weapon_manager() function yet. Let’s add that to PlayerController.gd as a simple helper.
# Add this helper function to PlayerController.gd
func get_weapon_manager() -> WeaponManager:
return weapons_managerLast step: Go back to RevolverPickup.tscn, select the root node, and drag the Interactable child node into the Interactable slot in the Inspector.
Test It Out!
Run the game.
- Press ‘G’ to throw your revolver.
- Walk over to it. When you get close and look at it, you should see
"You can interact with: Pick up Revolver"in the output log. - Press ‘E’. The revolver should disappear from the ground and reappear in your hands!
You have successfully created a complete weapon loop! But here’s a catch:
The proper way to fix this is by using collision layers and masks. These let us say: “this ray should only see interactables, not walls or other random colliders.”
To keep the tutorial simple, I didn’t set them up in the earlier steps. But here’s how you can do it in code by adding a couple of lines inside the _ready() functions of both the Interactable and the Interactor.
Code for Interactable.gd
Put this in _ready() so all interactables go on layer 8 (just a convention — any free layer works):
func _ready() -> void:
	add_to_group("interactables")
	# Put this interactable on layer 8
	collision_layer = 1 << 7  # layer 8
	# Make sure it can be detected by things that want to see layer 8
collision_mask = 0Code for Interactor.gd
Put this in _ready() so the ray only looks for objects on layer 8:
func _ready() -> void:
	# This ray will only detect objects on layer 8 (interactables)
collision_mask = 1 << 7Why this works
collision_layer= what this object belongs to.collision_mask= what this object cares about.- By putting interactables only on layer 8, and the ray only looking at layer 8, we guarantee that walls, props, and random colliders never interfere with detection.

Bonus: The Reusable Alarm
To really see the power of this system, let’s create a non-weapon interactable object in just a couple of minutes.
- Create a new scene with a
Node3Droot namedAlarm. - Add some placeholder visuals (a
MeshInstance3Dwith aCylinderMeshworks well). - Add an
Interactablechild node (Area3D+CollisionShape3D) just like you did for the weapon pickup. - Select the Alarm root node and assign the
interactablein inspector, pointing to the childInteractablenode. - Attach a new script
Alarm.gdto the rootAlarmnode.
# Alarm.gd
extends Node3D

@export var interactable: Interactable
var is_active = false

func _ready() -> void:
    # Set the initial prompt
    interactable.interaction_prompt = "Turn On Alarm"

func on_interaction_completed(_interactor: Node) -> void:
    is_active = !is_active
    if is_active:
        print("ALARM IS NOW ON!")
        interactable.interaction_prompt = "Turn Off Alarm"
    else:
        print("Alarm is now off.")
interactable.interaction_prompt = "Turn On Alarm"Save the scene as Alarm.tscn. Drag an instance of it into your main game world. Make sure to link its Interactable node in the Inspector.
Run the game again. You can now walk up to the alarm, see the prompt, and press ‘E’ to toggle its state, all using the exact same system as our weapon pickup, with zero changes to the player code.
This is the power of component-based design. You’ve not only solved the weapon pickup problem but have also created a tool you can use for doors, switches, loot chests, and anything else you can imagine.
In next tutorial, we will make a generic enemy AI controller.

