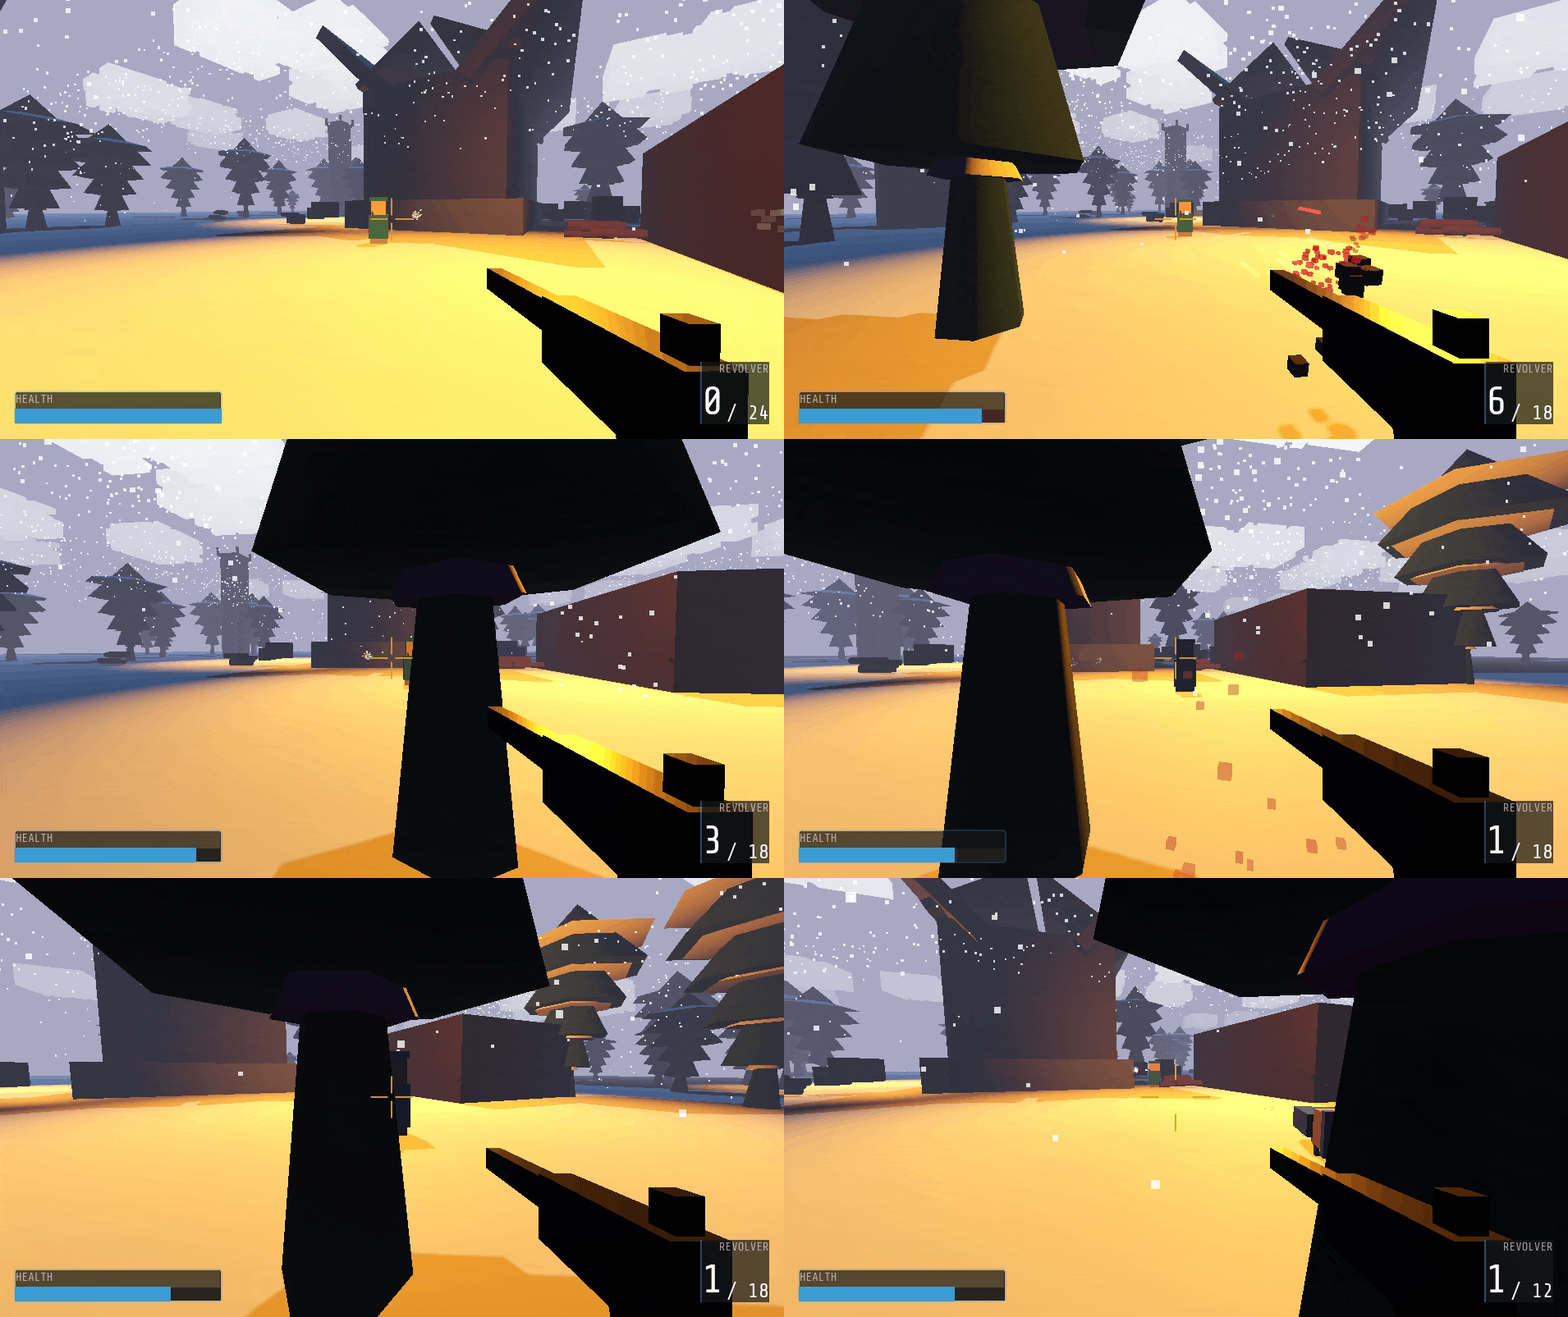
This post is part of Godot FPS tutorial series. – Above GIF is taken from the template on Itch.io.
Concept: We have a core system, but it feels off and boring, we will add some juice/gamefeel to it. A red cube appearing on an enemy doesn’t scream “satisfying headshot.” It’s time to add the visual flair that makes every action feel impactful and rewarding.
We’ve built a solid foundation with player movement, a data-driven weapon system, AI enemies, and a health system. Now, we’re going to focus on “game feel” or “juice”—the collection of sensory feedback that makes a game feel alive and exciting.
In this tutorial, we will replace our placeholder effects with real particle-based visual effects (VFX).
Our objectives are:
- Create a Muzzle Flash VFX Scene: We’ll build a particle effect that creates a bright, explosive flash at the barrel of our gun every time it fires.
- Integrate Muzzle Flashes: We’ll hook this new effect into our
WeaponEquippedscript so it can be triggered automatically. - Upgrade Hit Impacts to Particles: We will replace the placeholder black and red cubes from our previous tutorials with dynamic particle-based scenes for dust clouds and blood splatters. Our existing
WeaponImpactsystem is already built for this, so it’s just a matter of swapping out the scenes!
By the end, your revolver will feel ten times more powerful, and landing a shot on an enemy will be a visceral, satisfying event. Let’s make some sparks fly.
Creating the Muzzle Flash
A muzzle flash is a quick, bright burst of light and particles. We’ll build it as a self-contained scene that we can instantiate and attach to any weapon.
First, download the VFX folder from this GitHub repo and move it to your project folder. It has scenes & scripts pre-configured.
- Create the Control Script (above download already has it though): The muzzle flash scene needs a simple script to tell all its particle emitters to fire at once. Attach a new script to the root node,
RevolverMuzzleFlash.gd.
# RevolverMuzzleFlash.gd(already provided in repo above)
extends Node3D

var particle_emitters: Array[GPUParticles3D]

func _ready():
	# Find all child particle systems and store them for quick access.
	for child in get_children():
		if child is GPUParticles3D:
			particle_emitters.append(child)

# This is the public function our weapon will call.
func start():
	for emitter in particle_emitters:
		# Setting 'emitting' to true on a 'one_shot' particle system
		# triggers a single burst.
		emitter.emitting = true
Integrating the Muzzle Flash
Now we need to tell our weapons about this new effect and trigger it when they fire.
Update WeaponData.gd: The weapon’s blueprint needs a slot for the muzzle flash scene.
# Add to WeaponData.gd, in the "Feel" category
@export var muzzle_flash_scene: PackedSceneUpdate WeaponEquipped.gd: The base weapon script will handle spawning and triggering the effect. Add a variable to hold the spawned instance.
# Add to the top of WeaponEquipped.gd
var muzzle_flash: Node3DIn the _ready() function, we’ll instantiate the muzzle flash and attach it to the end of our FireRay. This ensures it always appears at the barrel.
# Add to the _ready() function in WeaponEquipped.gd
# Setup muzzle flash
if weapon_data and weapon_data.muzzle_flash_scene and fire_ray:
    muzzle_flash = weapon_data.muzzle_flash_scene.instantiate()
fire_ray.add_child(muzzle_flash)Finally, in fire_hitscan(), we’ll call the start() function on our muzzle flash instance.
# Add this inside the 'if result:' block in fire_hitscan()
if result:
    # ... (collider, hit_point, hit_normal setup) ...

    # --- ADD THIS LINE ---
    if muzzle_flash:
        muzzle_flash.start()
    # -------------------

    _spawn_impact_effect(hit_point, hit_normal, collider)
# ... (rest of the function)Configure the Revolver:
- Find and select your
revolver.tresresource file. - You will see the new
Muzzle Flash Sceneslot in the Inspector. - Drag your
RevolverMuzzleFlash.tscnscene from the FileSystem into this slot.
Run the game! Now when you fire, you should see a bright, explosive flash at the end of the revolver’s barrel. It already feels much more powerful.
Upgrading Hit Impacts to Particles
In a previous tutorial, we created placeholder impact scenes with simple colored cubes. Now we’ll replace those scenes with proper particle effects. Our WeaponImpact system is already built to handle this perfectly; we just need to give it better scenes to spawn.
- Get the impact VFX scenes from same GitHub repo.
- Replace
DefaultImpactVFX.tscnwithHitImpactVFX.tscn(ignore the name difference, I forgot to rename & I am too lazy to do it now).
# HitImpactVFX.gd (already provided in repo above)
extends Node3D

@export var lifetime = 2.0 # Should be slightly longer than your longest particle effect

func _ready():
    # Trigger all child particle systems
    for child in get_children():
        if child is GPUParticles3D:
            child.emitting = true

    # Set a timer to delete this scene after the effect is done
    var timer = Timer.new()
    timer.wait_time = lifetime
    timer.one_shot = true
    timer.timeout.connect(queue_free)
    add_child(timer)
timer.start()Repeat for the Blood Impact: Similar to how we did above, replace older BloodSpillVFX.tscn with the new version. And script is also same.
The Payoff
Because we built our WeaponImpact system to be data-driven, we don’t need to change any code in our weapon scripts. The system is already pointing to hit_impact.tres and blood_impact.tres, which in turn point to our scenes. Since we just updated those scenes, the changes will take effect automatically.
Run the game one last time.
Now, your firefights should be a chaotic ballet of visual effects.
- Bright muzzle flashes erupt from your gun and the enemy’s.
- Shooting the wall sends up a puff of dust and debris.
- Landing a shot on the enemy results in a visceral splatter of blood particles.
Every action now has satisfying visual feedback. You’ve successfully layered VFX on top of your solid mechanics, transforming a functional prototype into an engaging experience.
In next part, we will add HUD & dynamic crosshair to our FPS.

