This post is part of Godot FPS tutorial series.
Concept: The absolute foundation. We’ll create the player character, implement first-person movement (WASD), mouse-look (mouselook), jumping, and gravity.
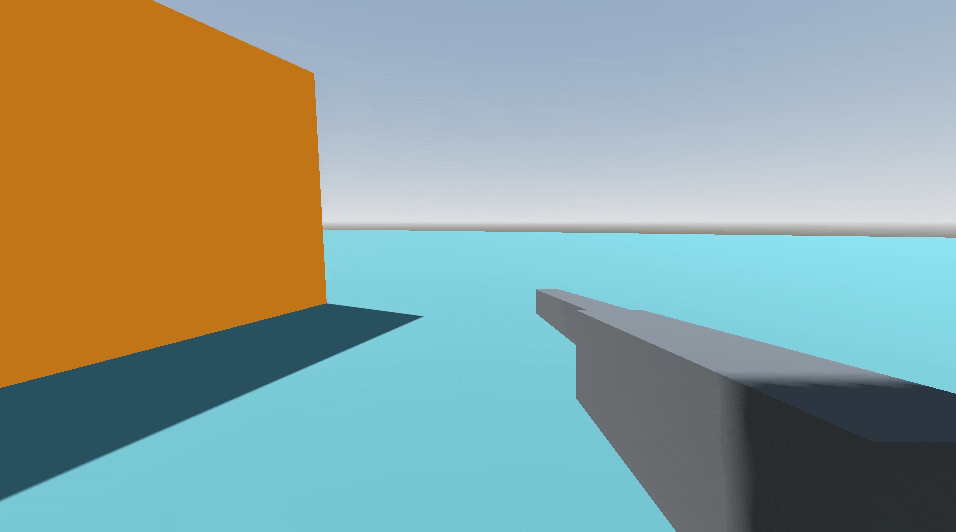
We will start with player movement and camera, and then add new features like jumping and sprinting slowly. By the end of this post, you will have a nice FPS player controller as shown above.
Making Basic Walking and Looking
Our first goal is simple: get a “body” into a level, see through its eyes, and make it walk and look around.
Minimalist Scene Setup
We don’t need fancy visuals yet. We just need the essential mechanics.
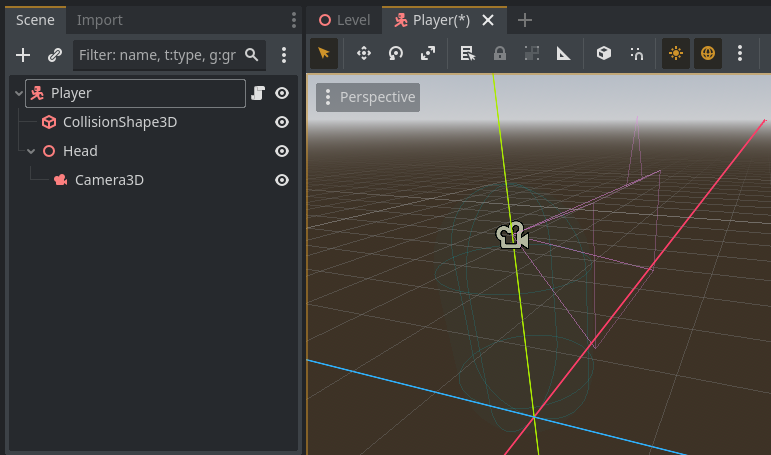
Create the Player Scene: Make a new scene with a CharacterBody3D node as the root. Name it Player. This node is Godot’s built-in starting point for characters.
Give it a Body: Add a CollisionShape3D as a child. In the Inspector, give it a CapsuleShape3D. This is the player’s physical presence in the world; it’s what will stand on the floor and bump into walls.
Give it Eyes: Now, we need a camera. But here’s a key trick: we don’t want our whole body to tilt when we look up and down. So, we’ll create a “neck” pivot.
- Add a
Node3Das a child ofPlayer. Rename itHead. - Add a
Camera3Das a child of theHead. - Make sure your camera’s Current property is turned on in the Inspector.
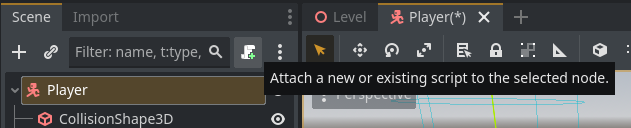
Also, select the Player node (root) and select attach-script button to attach a script. Name this script PlayerController.gd:
That’s it for now! Our scene is Player -> CollisionShape3D and Player -> Head -> Camera3D. It also has a script where we will write code.
The First Lines of Code
We’ll start with only the variables we need for walking and looking. In the script, write this code:
extends CharacterBody3D

# --- Movement Parameters ---
@export var walk_speed = 5.0
@export var gravity = 9.8

# --- Look & Feel Parameters ---
@export var mouse_sensitivity = 0.002

# --- Node References ---
@onready var head = $Head

# This function runs once when the game starts.
func _ready():
	# This hides our mouse cursor and keeps it locked to the game window.
	Input.set_mouse_mode(Input.MOUSE_MODE_CAPTURED)
Implementing Mouse Look
Let’s get the camera moving. The _input function is perfect for this, as it catches mouse motion events.
func _input(event):
	if event is InputEventMouseMotion:
		# To look left and right, we rotate the entire player body.
		rotate_y(-event.relative.x * mouse_sensitivity)

		# To look up and down, we only rotate our "Head" pivot.
		head.rotate_x(-event.relative.y * mouse_sensitivity)

		# We need to prevent the head from looking too far and flipping over.
		# This line clamps the rotation between straight up (-90 degrees) and straight down (90 degrees).
		head.rotation.x = clamp(head.rotation.x, -PI/2, PI/2)
Implementing Movement
Now, let’s make the player walk. All physics-related code goes in _physics_process. Don’t forget to set up your Input Map in Project Settings with actions for move_forward, move_backward, move_left, and move_right. For this, Go to Project > Project Settings > Input Map & add following actions there, mapping them to WSAD keyboard keys:
move_forwardshould point toW.move_backwardshould point toS.move_leftshould point toA.move_rightshould point toD.
func _physics_process(delta):
	# First, apply gravity so we don't float.
	if not is_on_floor():
		velocity.y -= gravity * delta

	# Get our WASD input.
	var input_dir = Input.get_vector("move_left", "move_right", "move_forward", "move_backward")

	# This bit of math translates our local "forward" into the world's "forward"
	# based on the direction our player is facing.
	var direction = (transform.basis * Vector3(input_dir.x, 0, input_dir.y)).normalized()

	# Set our horizontal velocity.
	velocity.x = direction.x * walk_speed
	velocity.z = direction.z * walk_speed

	# This is the Godot function that does all the heavy lifting of moving and colliding.
	move_and_slide()
Now, download Level.tscn from this GitHub repository and move it to your project folder, ideally place it in /Levels folder.
CHECKPOINT: Drag your Player.tscn into your Level.tscn. Run the game. You should now have a working character that can walk around the level and look freely with the mouse.
Adding Jumping
Our character feels a bit grounded. Let’s give them the ability to jump. This is a simple addition to our existing code.
Add the Jump Variable
In your script, add a variable to control how high we can jump.
# Add this inside the "Movement" group at the top of your script
@export var jump_strength = 5.0
Add the Jump Logic
In _physics_process, right after applying gravity, we can check for the jump input.
func _physics_process(delta):
	# ... (gravity code is here) ...

	# Handle Jumping
	# Make sure to add a "jump" action (e.g., Spacebar) in your Input Map!
	if Input.is_action_just_pressed("jump") and is_on_floor():
		velocity.y = jump_strength

	# ... (rest of the movement code is here) ...
CHECKPOINT: Run the game again. You can now jump! See how we’re building upon our working foundation?
Adding Sprinting and Crouching
Now that we have the fundamentals, let’s add some more dynamic actions. These are “states”—the player can be walking, sprinting, or crouching, and the code needs to react accordingly.
Add Sprinting
Sprinting will make us move faster and increase our Field of View (FOV) for a cool sense of speed.
Add New Variables:
# Add to your Movement group
@export var sprint_speed = 8.0

# Add to your Look & Feel group
@onready var camera = $Head/Camera3D # Need a reference to the camera now
@export var base_fov = 75.0
@export var sprint_fov = 85.0Modify _physics_process: We need to choose our speed based on whether we’re sprinting.
func _physics_process(delta):
    # ... (gravity and jump code) ...

    # Check if the player is trying to sprint.
    var is_sprinting = Input.is_action_pressed("sprint") and is_on_floor()

    # Update FOV based on sprinting state
    if is_sprinting:
        camera.fov = lerp(camera.fov, sprint_fov, delta * 10.0)
    else:
        camera.fov = lerp(camera.fov, base_fov, delta * 10.0)

    # ... (get input direction code) ...

    # Determine our target speed
    var target_speed = sprint_speed if is_sprinting else walk_speed

    # Apply velocity using the target_speed
    velocity.x = direction.x * target_speed
    velocity.z = direction.z * target_speed

move_and_slide()Add Crouching
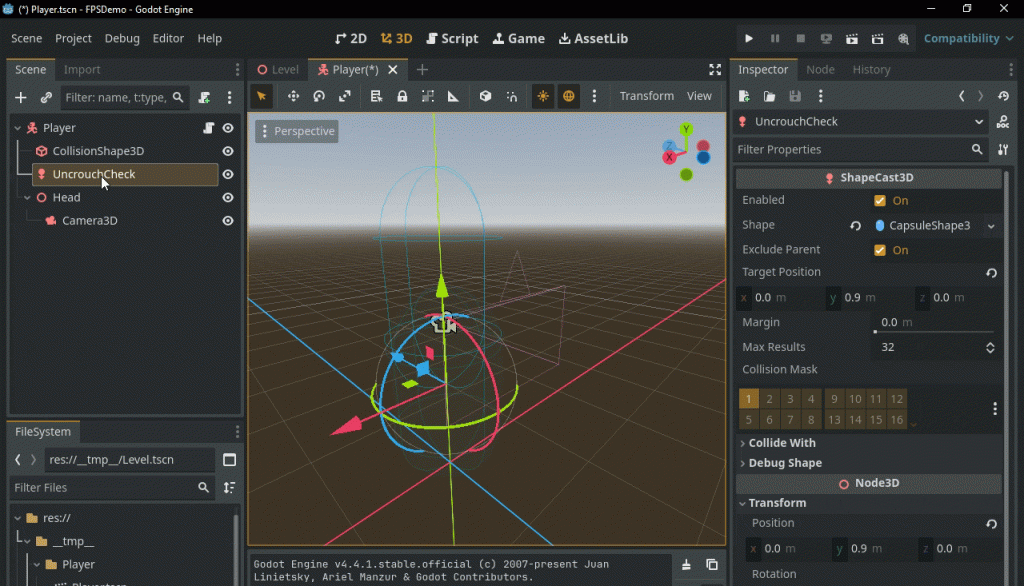
Crouching involves two things: moving slower and lowering the camera. To do it safely, we also need to add our “ceiling checker” to the scene so we don’t get stuck.
Update the Scene: Go back to your Player.tscn. Add a ShapeCast3D node named UncrouchCheck as a child of Player. Give it a CapsuleShape3D and set its Target Position Y to 0.9.
Add New Variables:
# Add to Movement group
@export var crouch_speed = 2.5

# Add as private variables at the bottom of the variable list
@onready var uncrouch_check = $UncrouchCheck
var is_crouching = false
var crouch_depth = -0.6
var stand_height = 1.2Create a Crouching Function: This logic is getting a bit bigger, so let’s put it in its own function to keep things clean. Add this function to your script:
func handle_crouch(delta):
    if Input.is_action_just_pressed("crouch"):
        # Before standing up, check if there's room.
        if is_crouching and uncrouch_check.is_colliding():
            return # Don't stand up!

        is_crouching = !is_crouching

    # Smoothly move the camera up or down
    var target_height = stand_height + crouch_depth if is_crouching else stand_height
head.position.y = lerp(head.position.y, target_height, delta * 10.0)Integrate Everything into _physics_process: This is our final pass to make everything work together. We need to call handle_crouch, adjust our speed logic, and prevent jumping while crouched.
func _physics_process(delta):
    # Call our new crouch handler at the top
    handle_crouch(delta)

    # ... (gravity code) ...

    # Update jump logic: can't jump while crouched
    if Input.is_action_just_pressed("jump") and is_on_floor() and not is_crouching:
        velocity.y = jump_strength

    # ... (sprint check and FOV code) ...

    # --- FINAL SPEED LOGIC ---
    var target_speed = walk_speed
    if is_crouching:
        target_speed = crouch_speed
    elif is_sprinting: # Can't sprint while crouched
        target_speed = sprint_speed

# ... (apply velocity and move_and_slide) ...Final Code & What’s Next
You’ve done it!
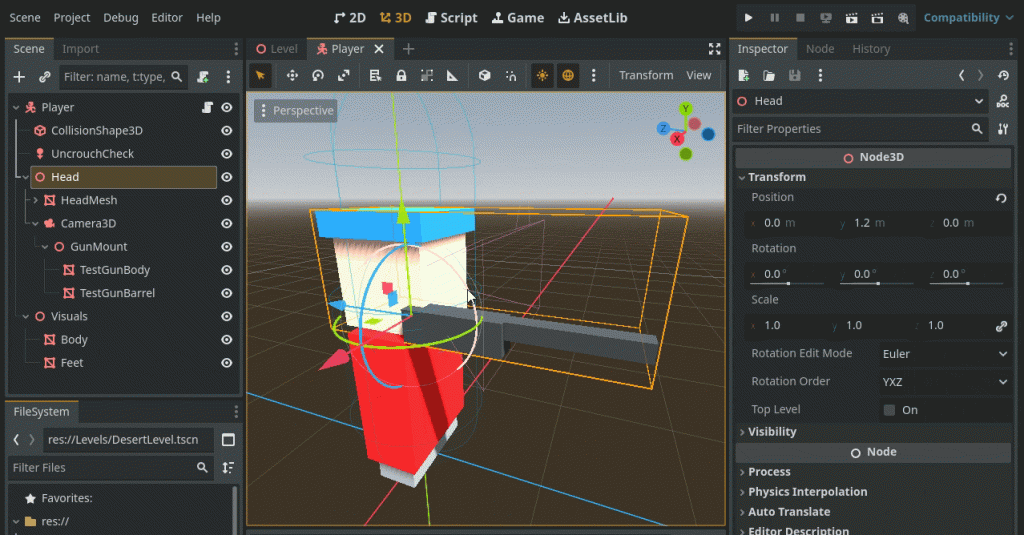
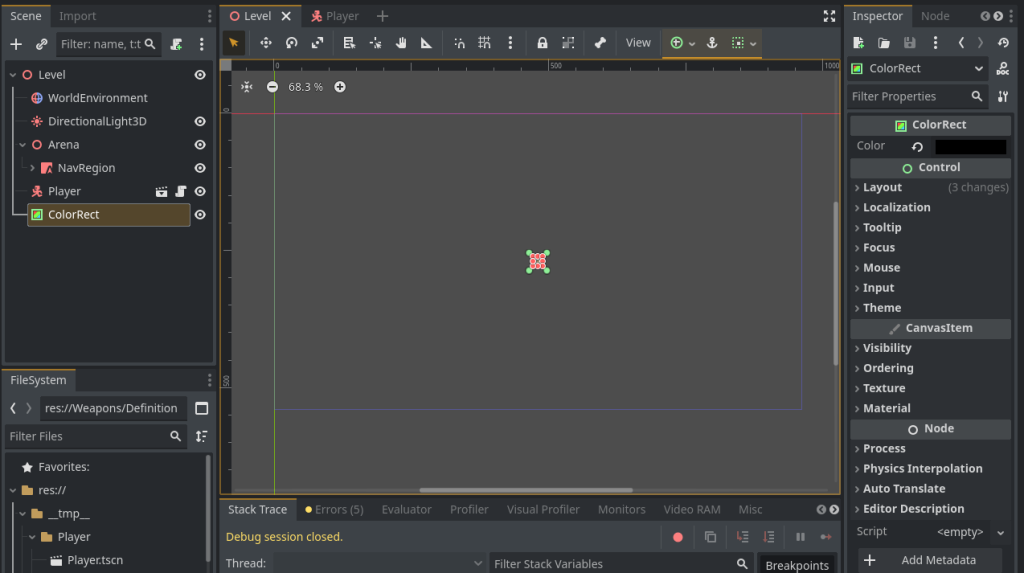
MeshInstance3D nodes to give your player a visual look. Also add a Node3D under Camera3D and name it “GunMount”, and put some dummy gun MeshInstance3D below it. This is how your player scene should look like so far. – You will have to tweak positions, offsets a little bit so gun looks cool from camera’s perspectiveFinally, in the Level.tscn scene, create a ColorRect node and make it as a dot on the center of screen. This will act as a tiny crosshair for our game now, until in later stages we make a real crosshair. This is how it looks in editor:
In the next part of the series, we’ll tackle the most important system in any FPS: weapons. We’ll design a flexible, data-driven system that will let us create any gun we can imagine.