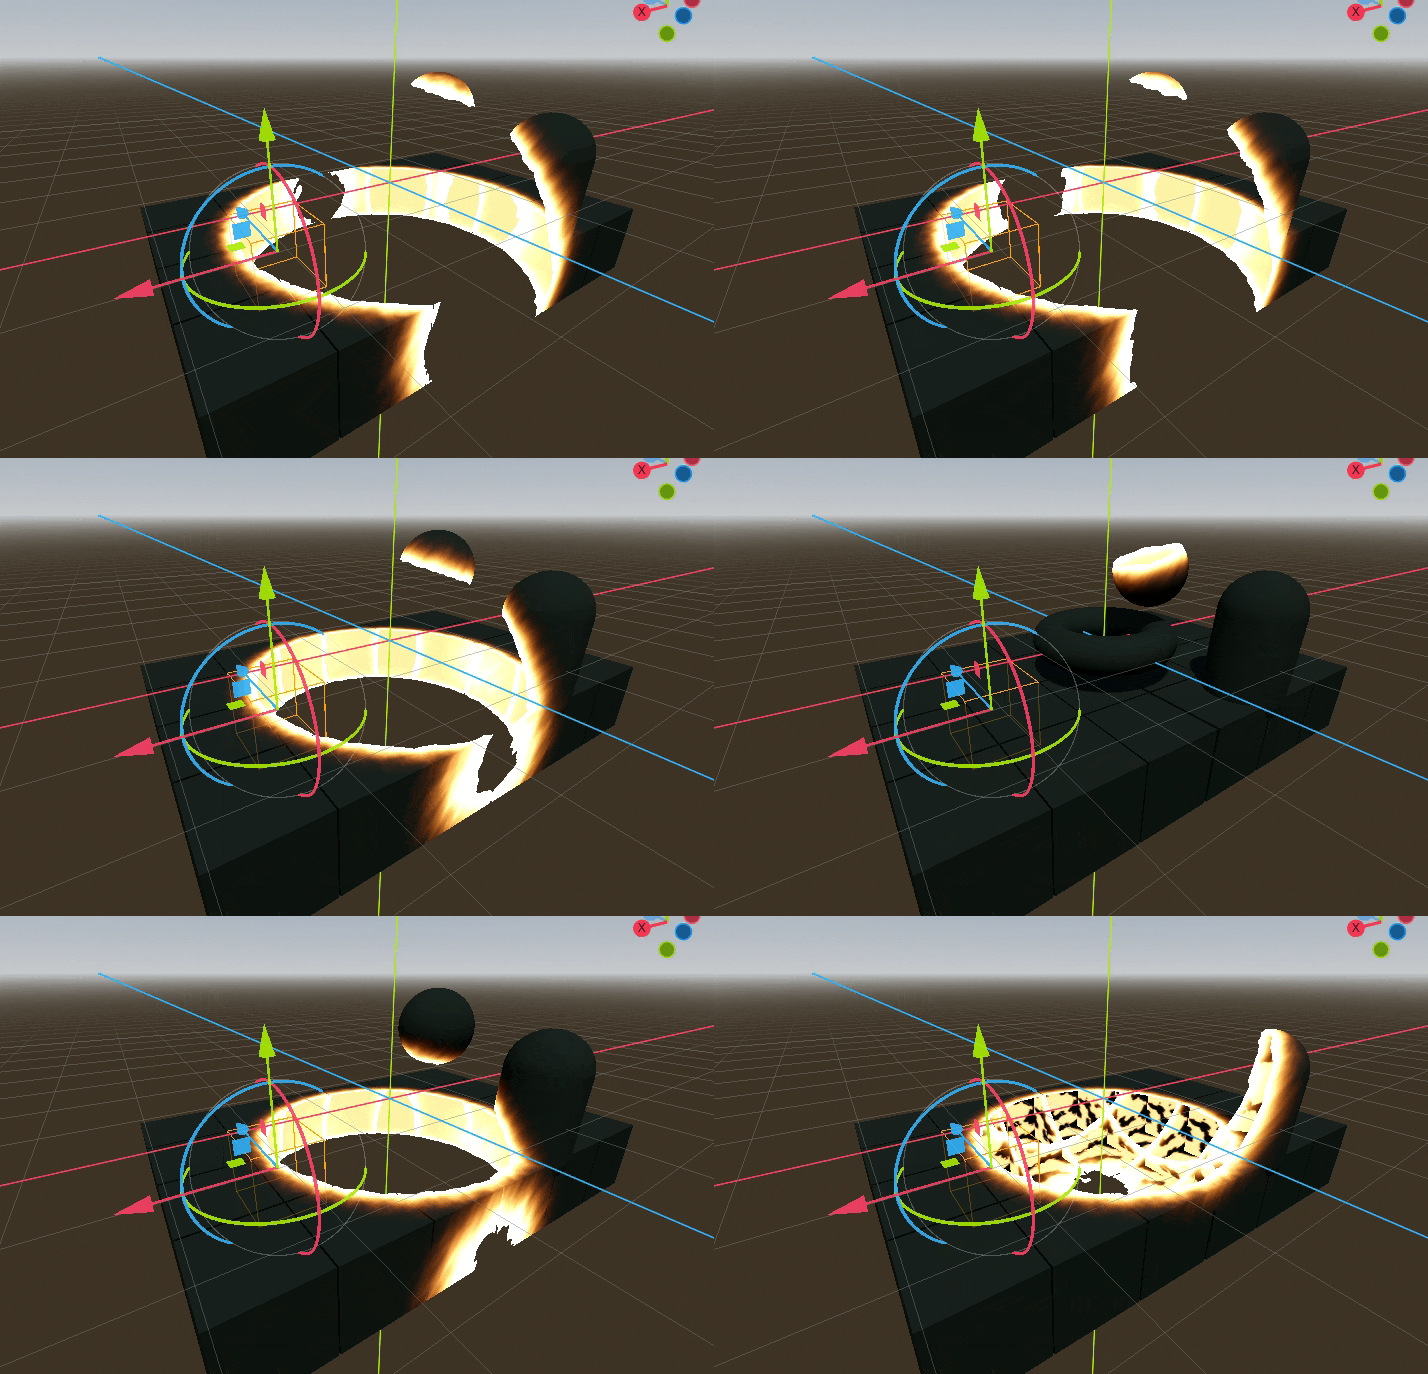
This is my attempt at creating a Godot dissolve shader for 3D objects (for 2D, see godot 2D dissolve shader). The edges are burned so the effect looks kinda cool. It can be used where you want to hide objects based on its area. For example, objects inside certain zone will be hidden entirely and be invisible. And when they emerge from that area, they will emerge with a good animation.
It can also be used to simulate destruction in some cases. For example after a blast, or when a building is being erased in an RTS game. And, can be used in combination with a 3D grass shader to simulate grass/crops burning.
Breakdown of Shader
- First step is to make a simple 3D dissolve shader. We run shader on each fragment, and if the fragment lies inside a sphere, then we
discard;it, else we do nothing (thus it gets rendered). To know if a fragment/pixel lies inside a sphere, we use simple math function that checks if a point is in the sphere. - Second step is to take a slice of the rendered part from the mesh, near the edges where we discarded the fragments. And based on a threshold, apply burn effect on it.
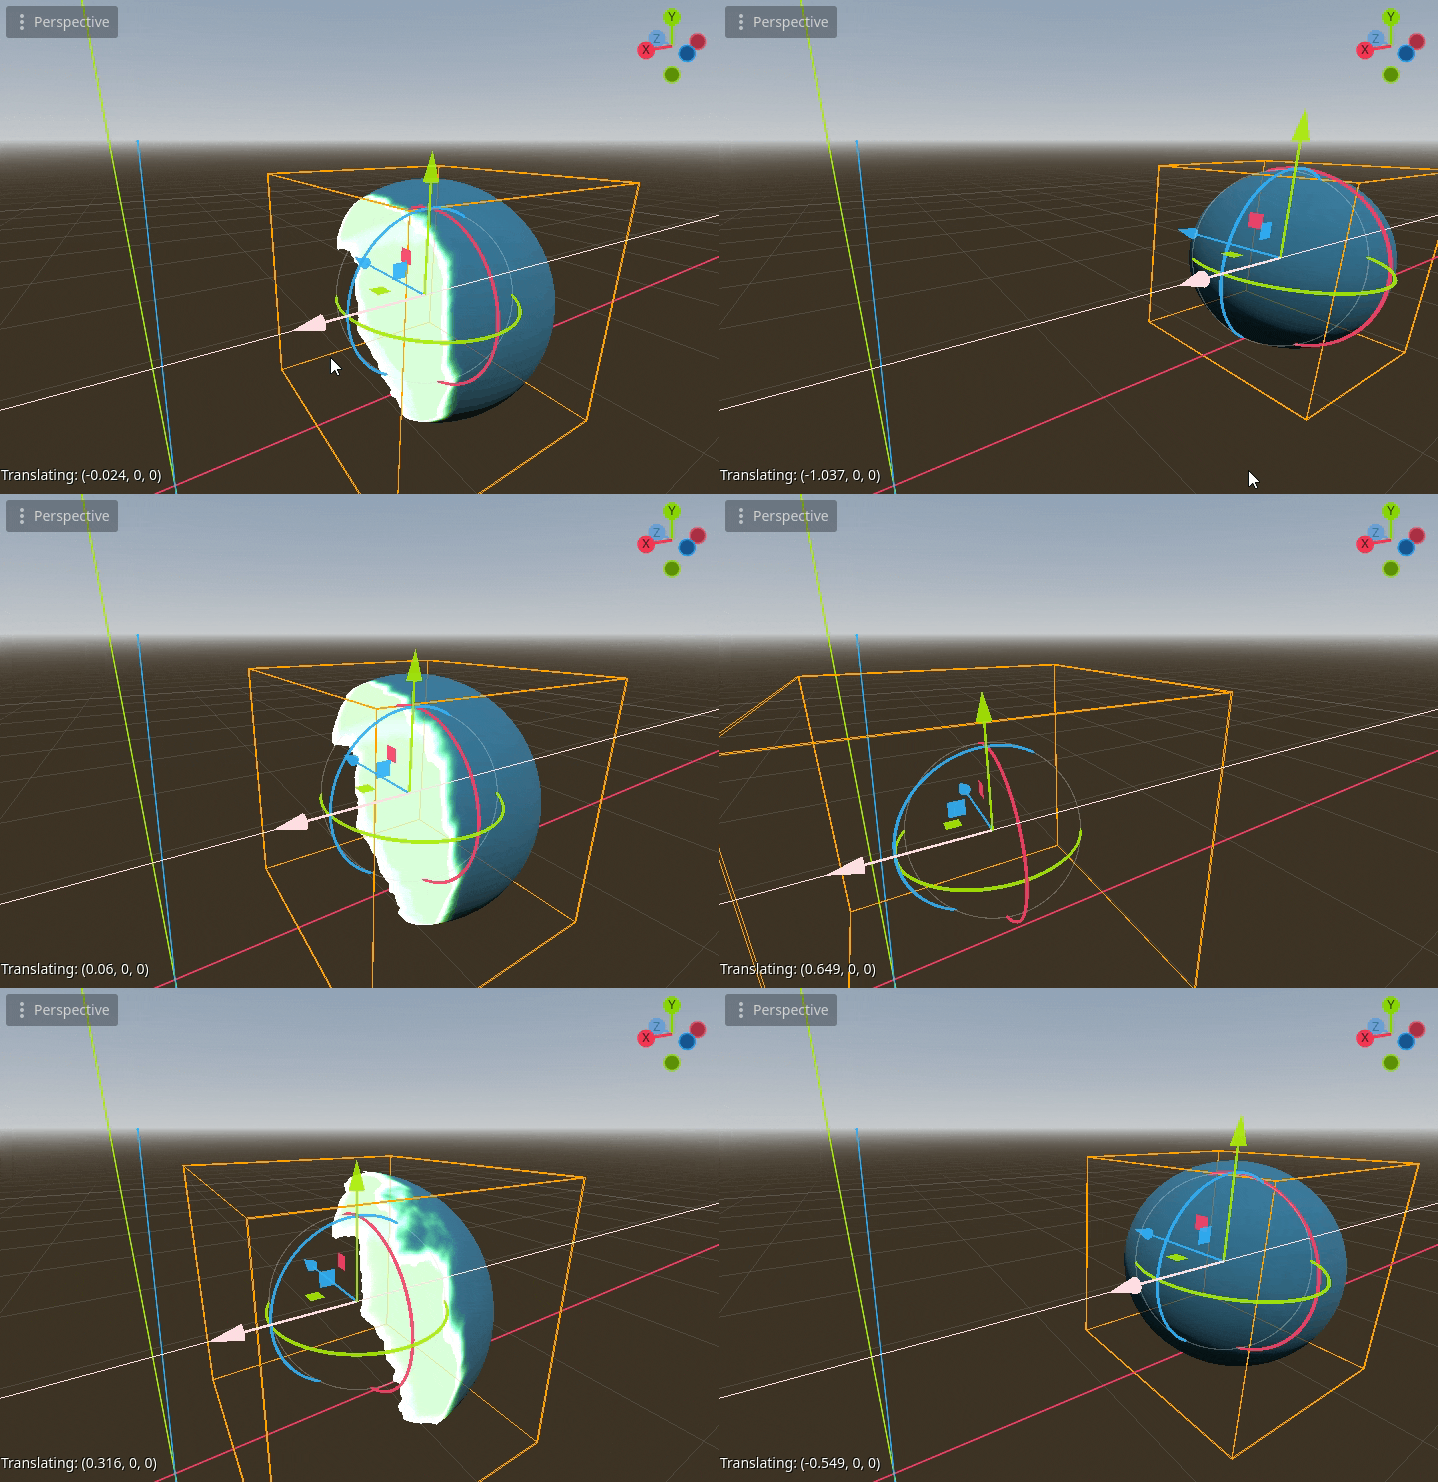
- Third step is to (optionally) apply burn effect on the inner faces as well (the back faces), so it doesn’t look hollow from inside.
Part 1: Creating Simple Dissolve Shader
This shader creates a dissolve effect where objects appear to be “eaten away” by a sphere, with a glowing edge at the dissolution boundary. Think of it like a sci-fi disintegration effect.
shader_type spatial;
render_mode cull_disabled; // View both sides

uniform vec3 sphere_position = vec3(0.0);
uniform float sphere_radius = 1.0;
uniform float burn_threshold = 0.1;

uniform sampler2D noise_texture;
uniform float noise_strength = 0.1;
uniform float noise_scale = 1.0;sphere_position: Where the dissolve effect originates from (default at center)sphere_radius: How big the dissolve sphere isburn_threshold: How thick the glowing edge effect should benoise_texture: A texture that adds randomness to the edgesnoise_strength: How much the noise affects the edge (higher = more jagged)noise_scale: How “zoomed in” the noise pattern is
In the fragment() function:
void fragment(){
vec3 world_pos = (INV_VIEW_MATRIX * vec4(VERTEX, 1.0)).xyz;This converts the vertex position to world space, so our effect stays consistent as the camera moves.
float dist = distance(world_pos, sphere_position);This measures how far each point on the object is from our dissolve sphere’s center.
// Adding Noise for Irregular Edges
vec2 noise_uv = (world_pos.xy + world_pos.yz + world_pos.xz) * noise_scale;
float noise = texture(noise_texture, noise_uv).r * 2.0 - 1.0;This creates irregular edges by:
- Creating UV coordinates from the world position
- Sampling the noise texture
- Converting the noise from 0-1 range to -1 to 1 range for better effect
// Applying the Dissolve Effect
float noisy_radius = sphere_radius + noise * noise_strength;
float sphere_dist = dist - noisy_radius;

if (sphere_dist < 0.0) {
    discard;
}This is where the dissolve happens:
- Adds noise to the sphere’s radius
- If a point is inside the noisy sphere, it’s discarded (becomes invisible)
// Creating the Simple Burn Effect
if (sphere_dist < burn_threshold) {
    float burn_factor = sphere_dist / burn_threshold;
    float burn_noise = texture(noise_texture, noise_uv * 2.0).r * 0.5;
    burn_factor = mix(burn_factor, burn_factor * (1.0 + burn_noise), 0.5);

    ALBEDO = vec3(1.0);
    EMISSION = vec3(1.0) * (1.0 - burn_factor);
    EMISSION *= 1.0 + burn_noise * 0.5;
}This creates the glowing edge:
- Checks if we’re within the burn threshold distance
- Creates a smooth transition from full glow to no glow
- Adds some noise to the burn effect for more realism
- Sets the color (ALBEDO) to white
- Adds emission for the glow effect
// rest of Normal pixel Rendering
else {
    ALBEDO = vec3(0.5); // Currently render just a gray color
}

} // Closing fragment()For parts not affected by the dissolve or burn:
- Renders with a default gray color (will be customized later).
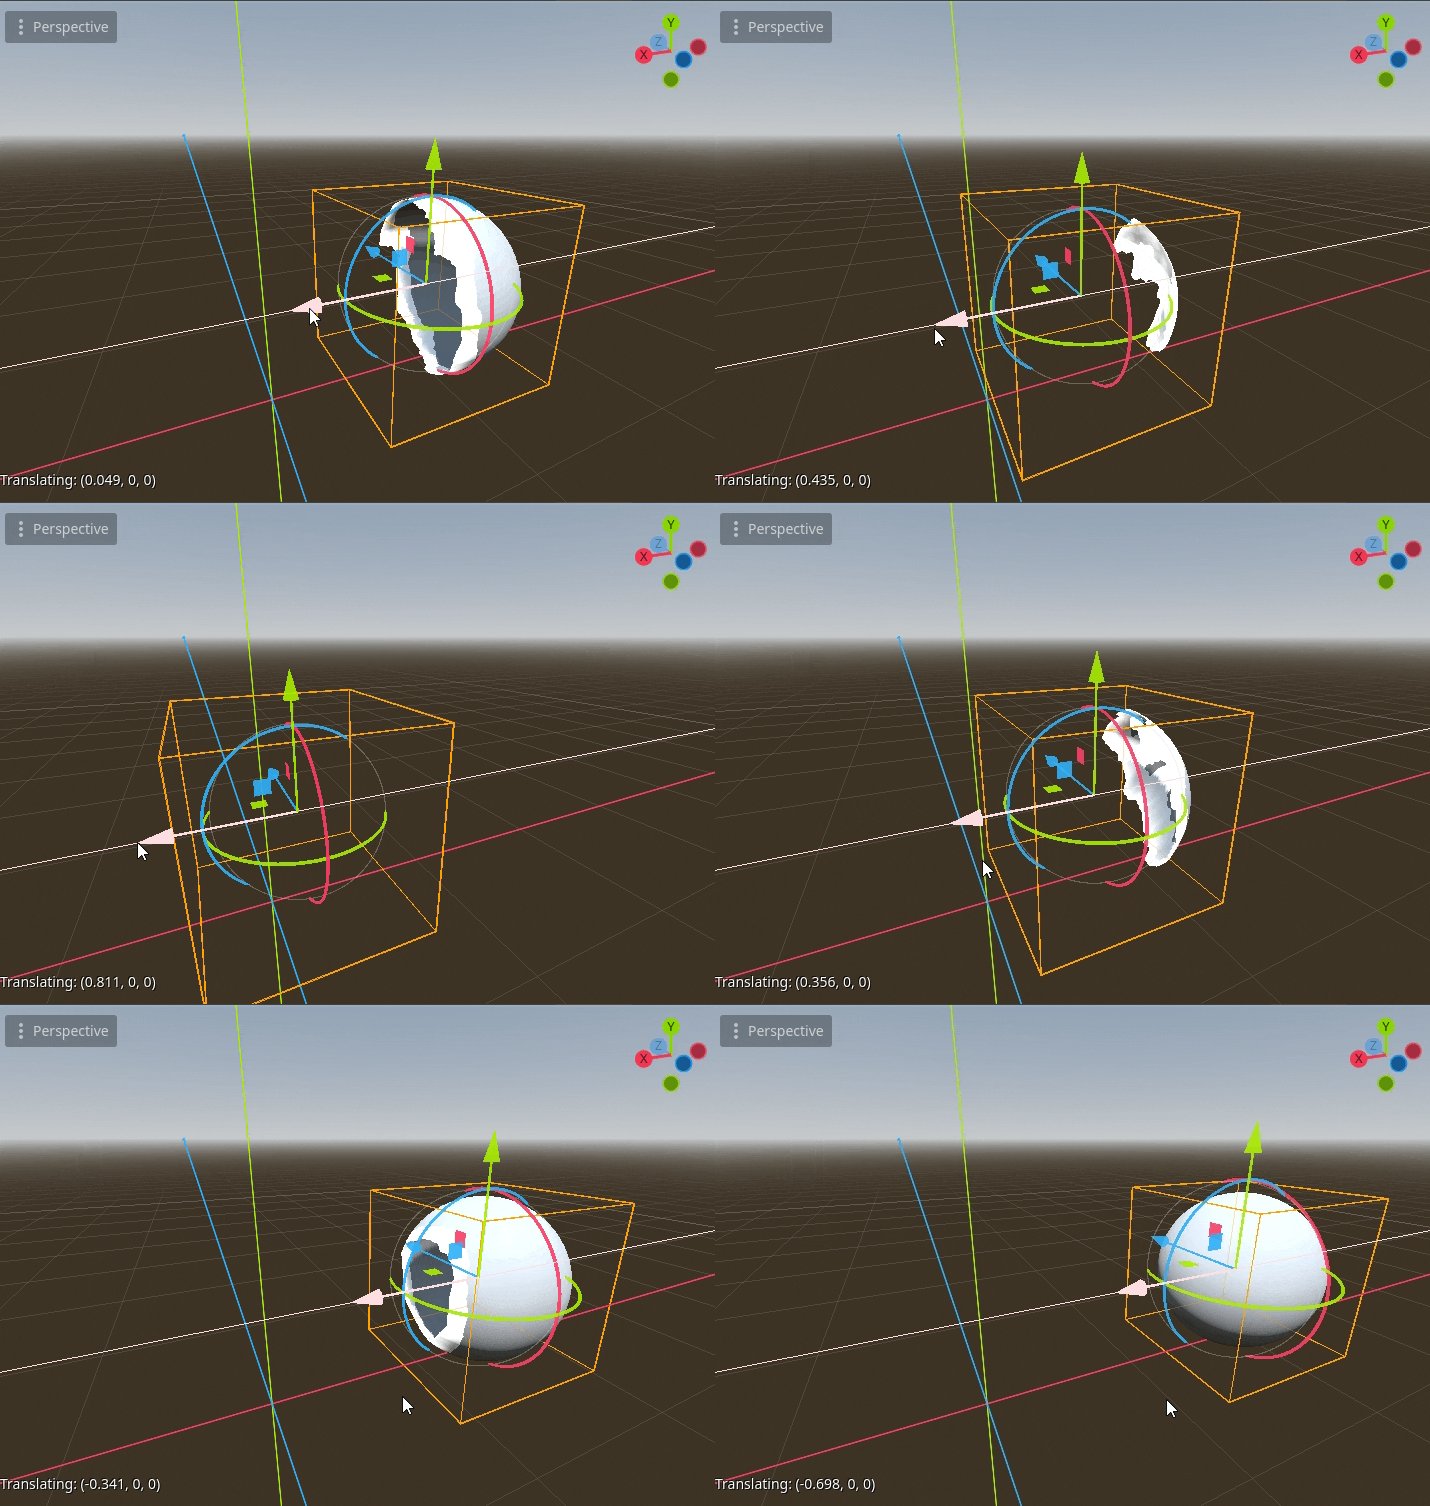
Part 2: Adding Burning Effect to Dissolved Edges
Now we convert the basic burn (white colored as seen above), to a real burn. We will use a neon function to make it look good.
- Add New Uniform Variables
// Add these new uniform declarations after the existing ones
uniform vec3 neon_base_color: source_color = vec3(0.2, 0.5, 1.0);
uniform vec3 albedo_color: source_color;
- Add the Neon Effect Function Add this new function before the
fragment()function:
vec3 calculate_neon_effect(float value, vec3 base_color) {
    float ramp = clamp(value, 0.0, 1.0);
    vec3 neon_color = vec3(0.0);

    // Layer 1: Intense core
    ramp = ramp * ramp;
    neon_color += pow(base_color, vec3(4.0)) * ramp;

    // Layer 2: Mid intensity
    ramp = ramp * ramp;
    neon_color += base_color * ramp;

    // Layer 3: Bright center
    ramp = ramp * ramp;
    neon_color += vec3(1.0) * ramp;

    return neon_color;
}
- Modify the Fragment Function Replace the original burn effect code with these changes:
a. Add default material properties:
// Add after sphere_dist < 0.0 check
ALBEDO = albedo_color;
METALLIC = 0.0;
ROUGHNESS = 1.0;
EMISSION = vec3(0.0);
b. Replace the original burn effect code with:
if (sphere_dist < burn_threshold) {
    float burn_factor = sphere_dist / burn_threshold;

    float burn_noise = texture(noise_texture, noise_uv * 2.0).r * 0.5;
    burn_factor = mix(burn_factor, burn_factor * (1.0 + burn_noise), 0.5);

    // Calculate and apply neon effect
    vec3 neon = calculate_neon_effect(1.0 - burn_factor, neon_base_color);
    EMISSION = neon * 2.0;
}
- Remove Old Burn Effect Code Remove these parts from the original shader:
- Remove the white ALBEDO setting (
ALBEDO = vec3(1.0);) - Remove the old emission calculations
- Remove the burn color variation code
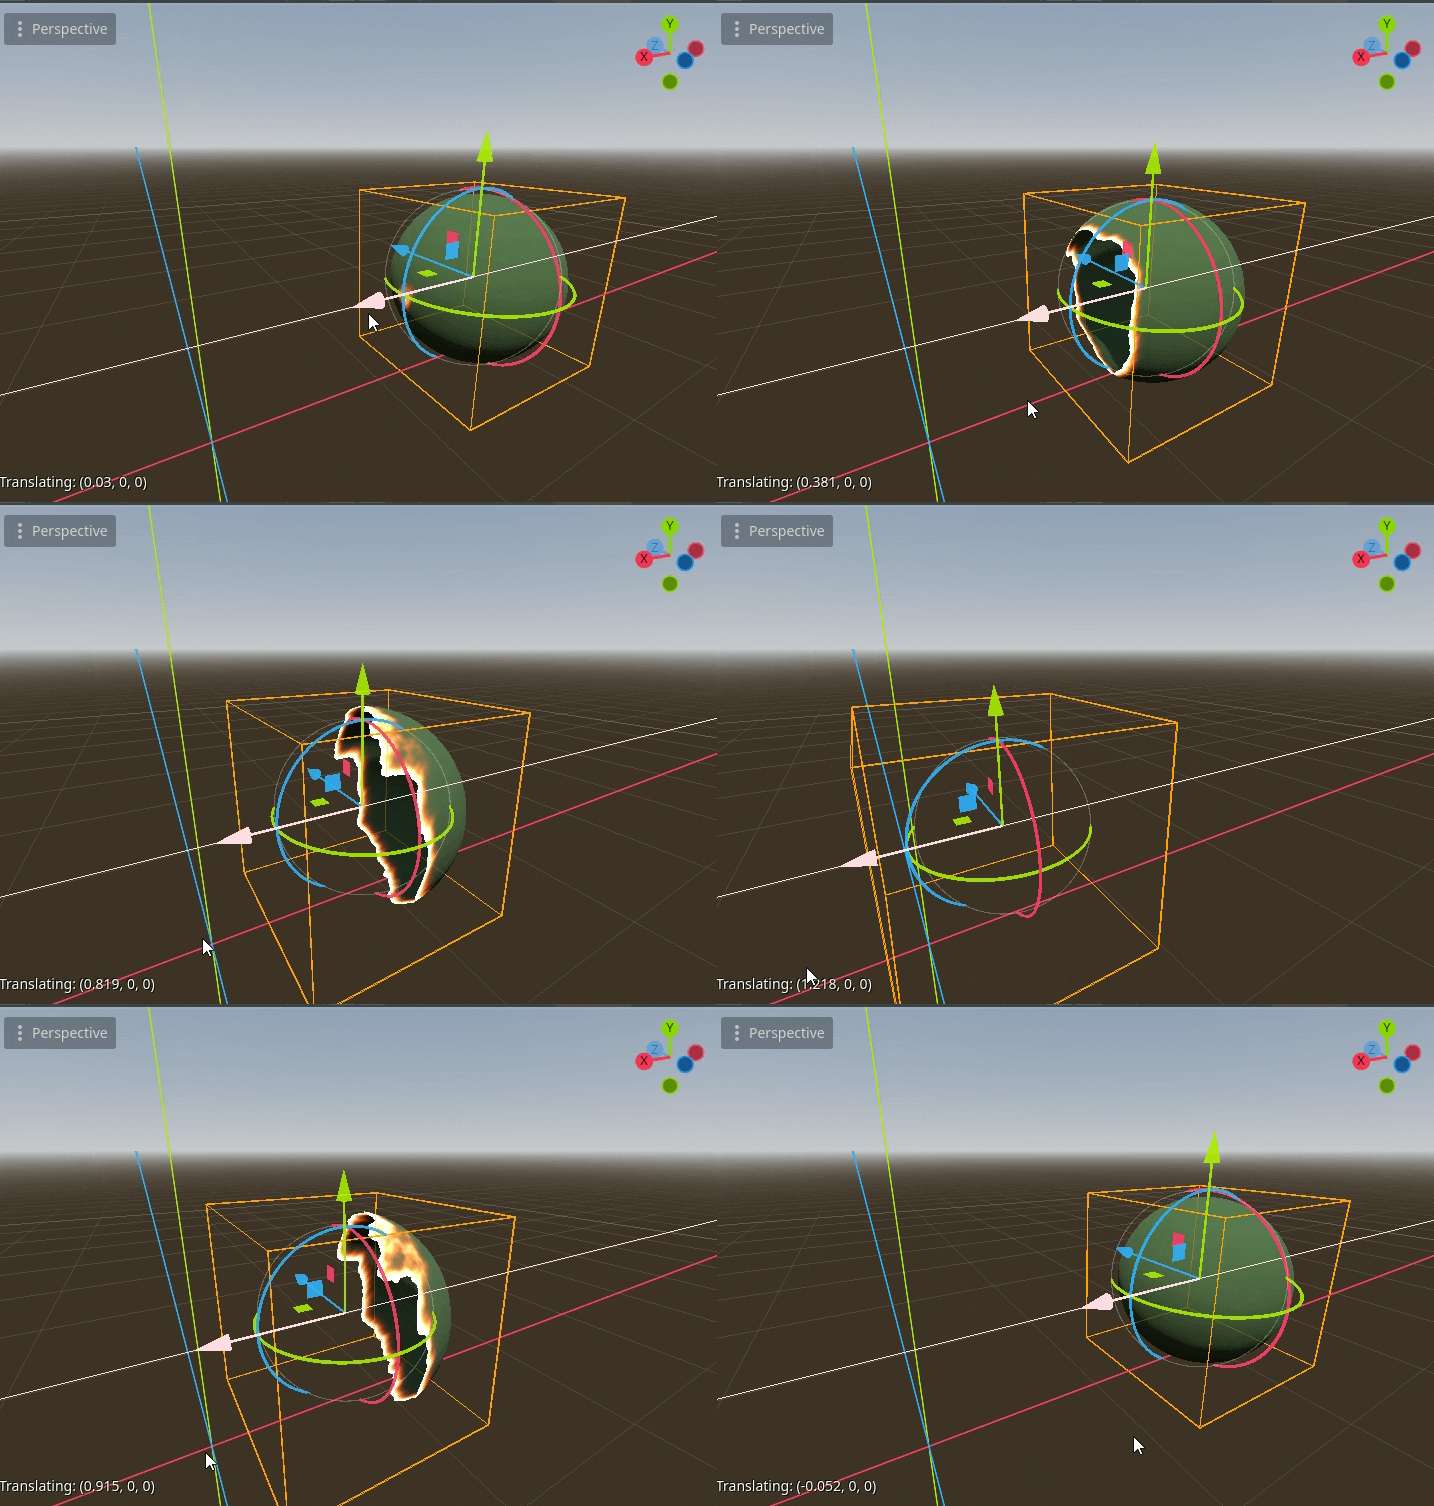
Step 3: Add Neon Effect to Back Faces as Well
Add New Uniform Variable: Add this after your existing uniforms:
uniformfloat inner_face_neon_intensity = 0.86;- Add Back Face Detection and Effect: Add this code block at the end of the
fragment()function, after the burn effect code:
// Additional neon effect for back faces
if (!FRONT_FACING) {
    vec3 back_face_neon = calculate_neon_effect(inner_face_neon_intensity, neon_base_color);
    EMISSION += back_face_neon * 1.5;
}
Optional: Add Uniforms Standard Material Properties
So far we cannot control metallic, specular, diffuse, and so on. So you can add additional uniforms to handle them, so the shader behaved as a standard 3D material, with this burn effect.
Thank you for reading <3
Images



2 responses to “Making a Spherical Dissolve Shader with Burn”
How to make this effect with other shapes?
If you can make a function that allows us to check if a particular fragment is “inside” that shape, we can make it. That depends of the type of shape you are making, but it will require quite some math. Sphere is simplest to do.