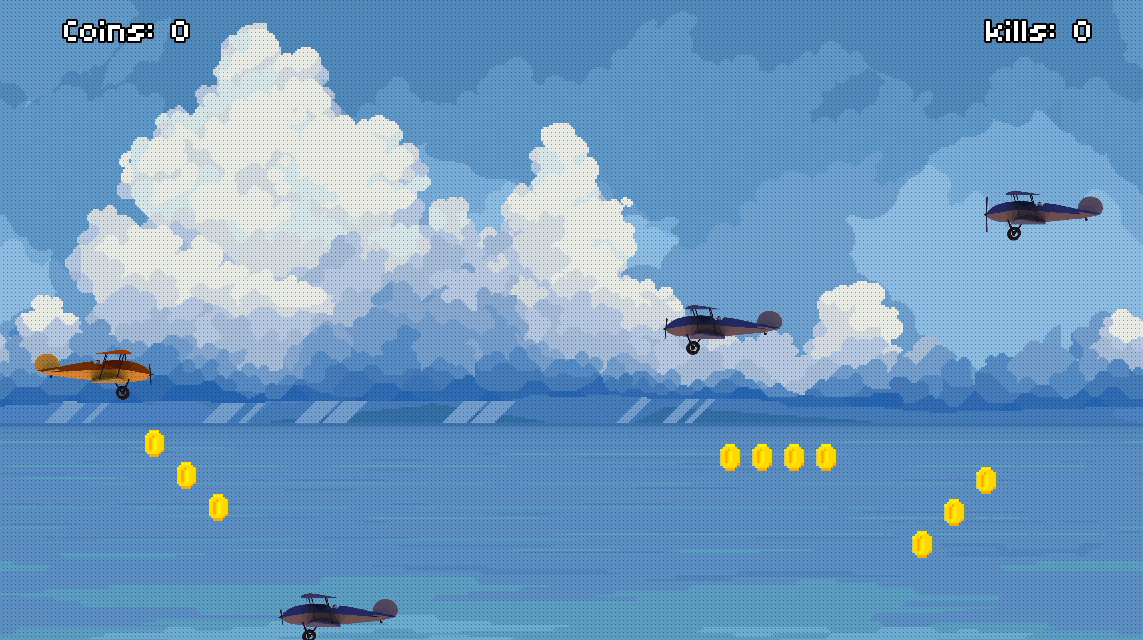
In this part, we will make coins in the game. We will spawn the coins in horizontal and diagonal patterns. How to spawn bullets by the player and move the bullets forward. How to kill the enemy when bullet hits it, and game-over logic if player has been knocked out of the screen bounds by the enemy characters.
Earlier, we saw how to make infinite side scrolling game. This post follows that recipe and adds the above mentioned mechanics to it.
Spawning the Coins in Game
Before spawning the coins, we need to make the Coins.
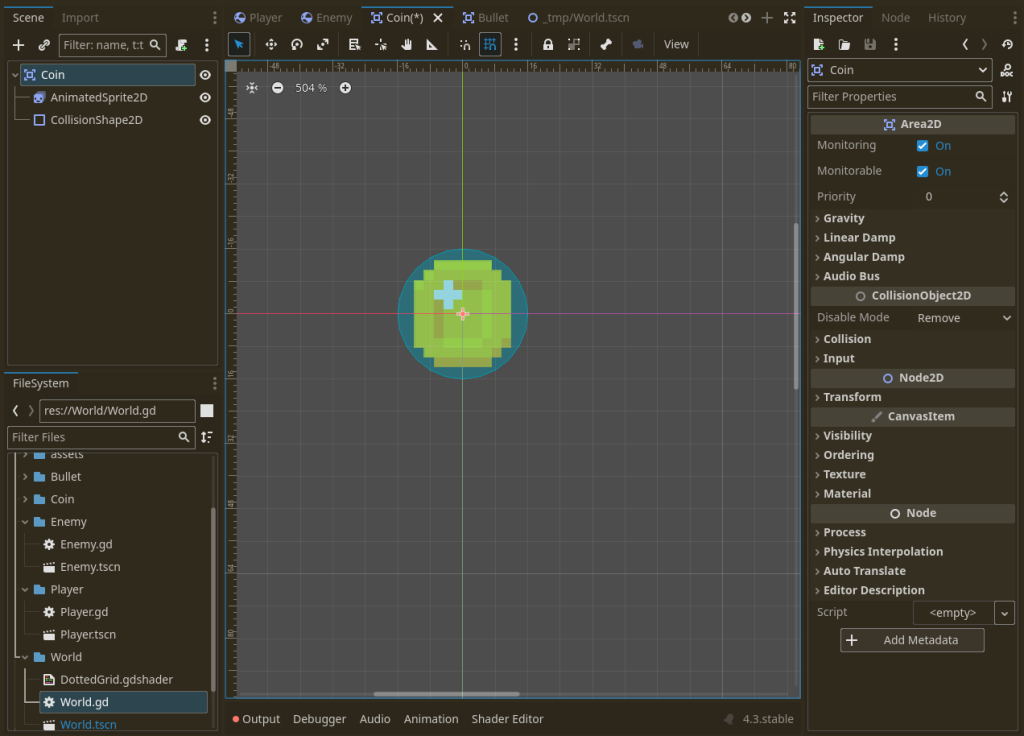
Making Coin scene
Create a folder named ‘Coin’ and create a scene in it named Coin. Set the root node of this scene to Area2D, and add a sprite (or animated sprite if you have coins that rotates) and collision shape. The overall scene structure looks like this:
Now we want the coins move left when spawned & to listen to any collisions with player, and if the coin touches the player, we delete the coin and increment the coins count in the player. So attach a script to the Coin scene and connect its body entered_signal to script function.
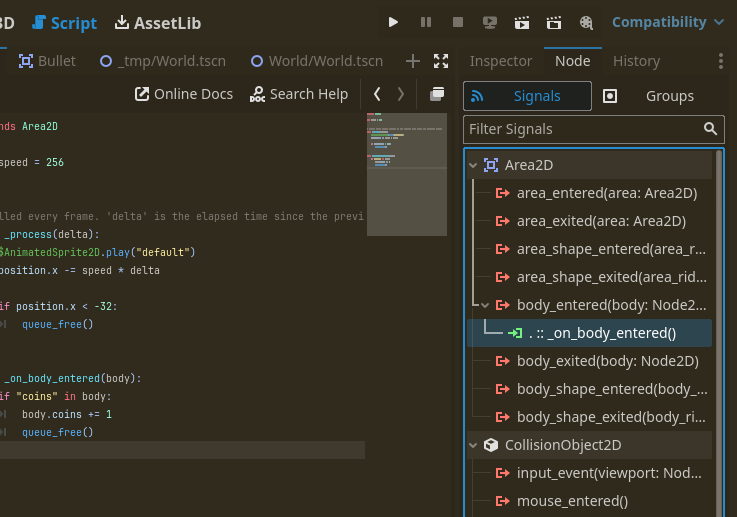
In Coins.gd:
extends Area2D

var speed = 256


# Called every frame. 'delta' is the elapsed time since the previous frame.
func _process(delta):
	$AnimatedSprite2D.play("default") # optional, use if AnimatedeSprite
	position.x -= speed * delta

	if position.x < -32:
		queue_free()


func _on_body_entered(body):
	if "coins" in body: # chack if variable `coins` exists in body
		body.coins += 1 # then increment it
		queue_free() # and delete myself
Spawning these coins in level
In level, we create a Timer, and on timer’s timeout event, we spawn several; coins in a pattern (patterns such as horizontal line and diagonal line). So we will get a set of coins arranged horizontally or diagonally.
So create a Timer node, and name it “CoinSpawnTimer”. And connect is timeout signal to Level.gd script. In the script, write the code for coins spawn:
In Level.gd:
# !!! Must assign the coin-scene in inspector !!!
@export var coin_scene: PackedScene


# ... REST OF THE CODE ...

func _on_coin_spawn_timer_timeout():
	var coin_pattern = randi_range(0, 3)  # Choose a random pattern (0-2)

	if coin_pattern == 0:  # Horizontal line pattern
		var coin_count = randf_range(3, 5)  # Random number of coins in the line
		var starting_y = randf_range(28, get_viewport().size.y - 28)
		for i in range(coin_count):
			var coin = coin_scene.instantiate()
			add_child(coin)
			coin.position.x = get_viewport().size.x + spawn_offset + i * 32  # Adjust spacing as needed
			coin.position.y = starting_y

	elif coin_pattern == 1:  # Diagonal line pattern (upward)
		var coin_count = randf_range(3, 5)  # Random number of coins in the line
		var starting_x = get_viewport().size.x + spawn_offset
		var starting_y = randf_range(28, get_viewport().size.y - 28)
		for i in range(coin_count):
			var coin = coin_scene.instantiate()
			add_child(coin)
			coin.position.x = starting_x - i * 32  # Adjust spacing as needed
			coin.position.y = starting_y - i * 32  # Adjust spacing as needed

	elif coin_pattern == 2:  # Diagonal line pattern (downward)
		var coin_count = randf_range(3, 5)  # Random number of coins in the line
		var starting_x = get_viewport().size.x + spawn_offset
		var starting_y = randf_range(28, get_viewport().size.y - 28)
		for i in range(coin_count):
			var coin = coin_scene.instantiate()
			add_child(coin)
			coin.position.x = starting_x - i * 32  # Adjust spacing as needed
			coin.position.y = starting_y + i * 32  # Adjust spacing as needed
In above code, we randomly select which pattern we want to create, by using a random number. If we are creating a horizontal pattern, we just have to start with a starting position and we will spawn points several units away from the starting position in the loop.
For example, if we start with Vector2(0,0), then we will just increment the x-axis position and thus the next coin will go to Vector2(1 * offset, 0), and second coin will go to Vector2(2 * offset, 0) and so on.
For diagonal spawning, we increment y-axis position in addition to the previous x-axis position. So in diagonal pattern of spawning coin, we have a pattern that is written like this:
Vector2(0 * offset, 0 * offset)Vector2(1 * offset, 1 * offset)Vector2(2 * offset, 2 * offset)- And so on…

Spawning the Bullets
Unlike coins, which were spawned only after a timeout, the bullets must be spawned only when player presses the shoot button. Bullets are spawned in the Player script and not in Level script.
Creating bullet scene
Bullet is similar to coin scene. it has Area2D root node, a sprite and a collision shape. It also has a script attached & body_entered signal connected. This is how it looks like:
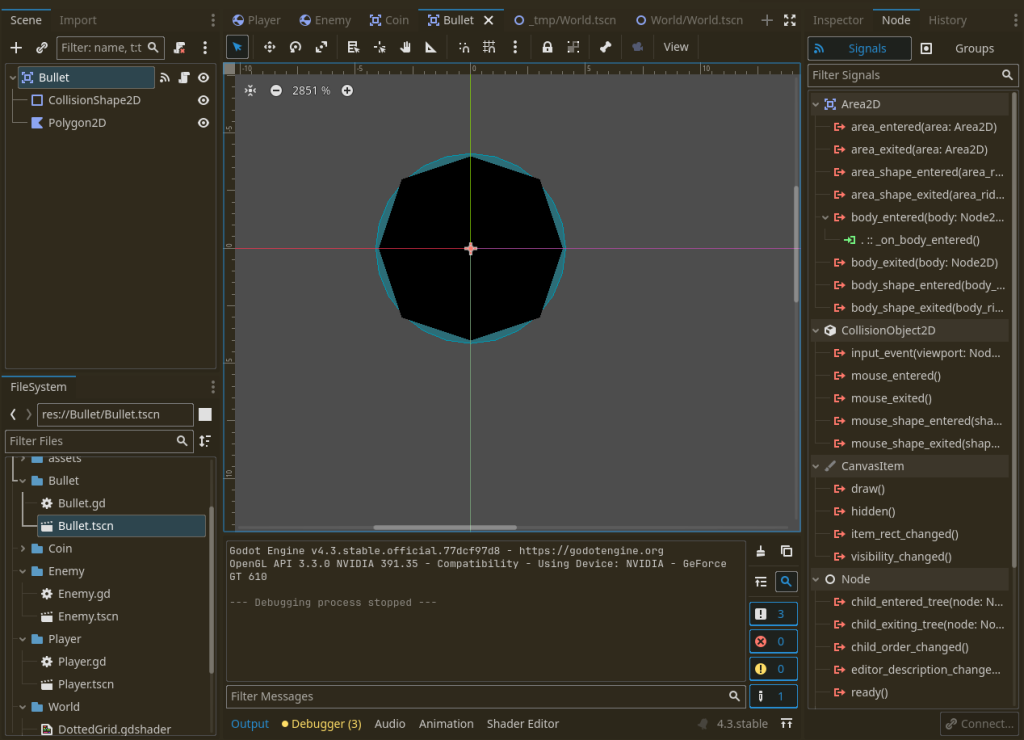
In the bullet script (Bullet.gd), we have a direction and speed of bullet. In every frame, we just move the bullet to the given direction. It also has shooter property to store who fired the bullet, so the shooter can gain score when bullet hit something. Also, the enemy to which we hit instantly gets removed from level:
extends Area2D

var shooter: Node # who is the shooter of this bullet, so we increase its score

var direction: Vector2 # in which direction should bullet move
var speed: float = 1024


func _process(delta):
	position += direction * speed * delta


func _on_body_entered(body):
	if body is RigidBody2D and body != shooter:
		body.queue_free()
		if "kills" in shooter: # If variable kills exists in shooter's script
			shooter.kills += 1
	self.queue_free()
In a good game, we usually do not eliminate the enemy at once; instead, we reduce its health, and when health is very low, we play death animation and then remove it from the game.
Spawning the bullet
In player script (Player.gd), when player presses the shoot action, we instantiate the bullet scene, assign the shooter to be the player itself, set the direction, and add it to the scene tree for it to work. This is the code:
In Player.gd:
func _physics_process(delta):

  # ... REST OF THE CODE ...

	if Input.is_action_just_pressed("ui_home"): # any button can be used
		var bullet = bullet_scene.instantiate()
		bullet.shooter = self # i shot it
		bullet.position = self.position + Vector2(64, 0) # initial position
		bullet.direction = Vector2(1, 0) # to right side
		get_parent().add_child(bullet) # make it child of Level
Now when player presses shoot action (which is Home button in my example), then bullet spawn and moves on its own as defined in bullet scene.
Game Over Logic
In this game, the logic is extremely simple. We see if player is outside the screen boundary, we set game over to true and display a game over message. In advanced games you usually switch back to main menu or apply some death-like effect on top of game using shaders or simple GUI.
More reading
I tried covering some basic details of making a simple endless shooter game, there are tons of things that cannot be discussed without increasing the post’s complexity. You can explore this site to read more of my posts.
Thank you for reading it <3
3 responses to “Making 2D Airplane Shooter Game in Godot Part 2”
Good tutorial.
Thank you!
This is great and inspiring me for my own game. Thank you for sharing.