This is a beginners’ tutorial on making a simple infinite side-scrolling shooter game with basic AI-agents, player mechanics, coins system, score system, bullet shooting system and death system.
I highly recommend the very basic making your first 2D game tutorial by official Godot engine documentation if you are a game development beginner. That will teach you about the very fundamentals so you will be familiar with the Godot’s UI interface. After that, you will be able to understand this tutorial. As it requires you to be already familiar with the Godot’s interface.
Assets & the GitHub Project
Some of the assets are mine & some are licensed. This is the GitHub repo, all the assets which are not mine are given credit under a.txt files in every folder. Credit is given as a direct URL to the asset page.
This tutorial does not teach how to make these assets, as making assets is entirely a different kind of art. But the way I made airplane assets is by making low-poly airplane 3D models in Blender & rendered them for use in this game. However, typically tools like Photoshop, GIMP, and so no are used for 2D art.
Itch.io, OpenGameArt.org, Blendswap.com, Sketchfab.com, Unity Asset Store and so on are very good sources for game assets.
What are we creating?
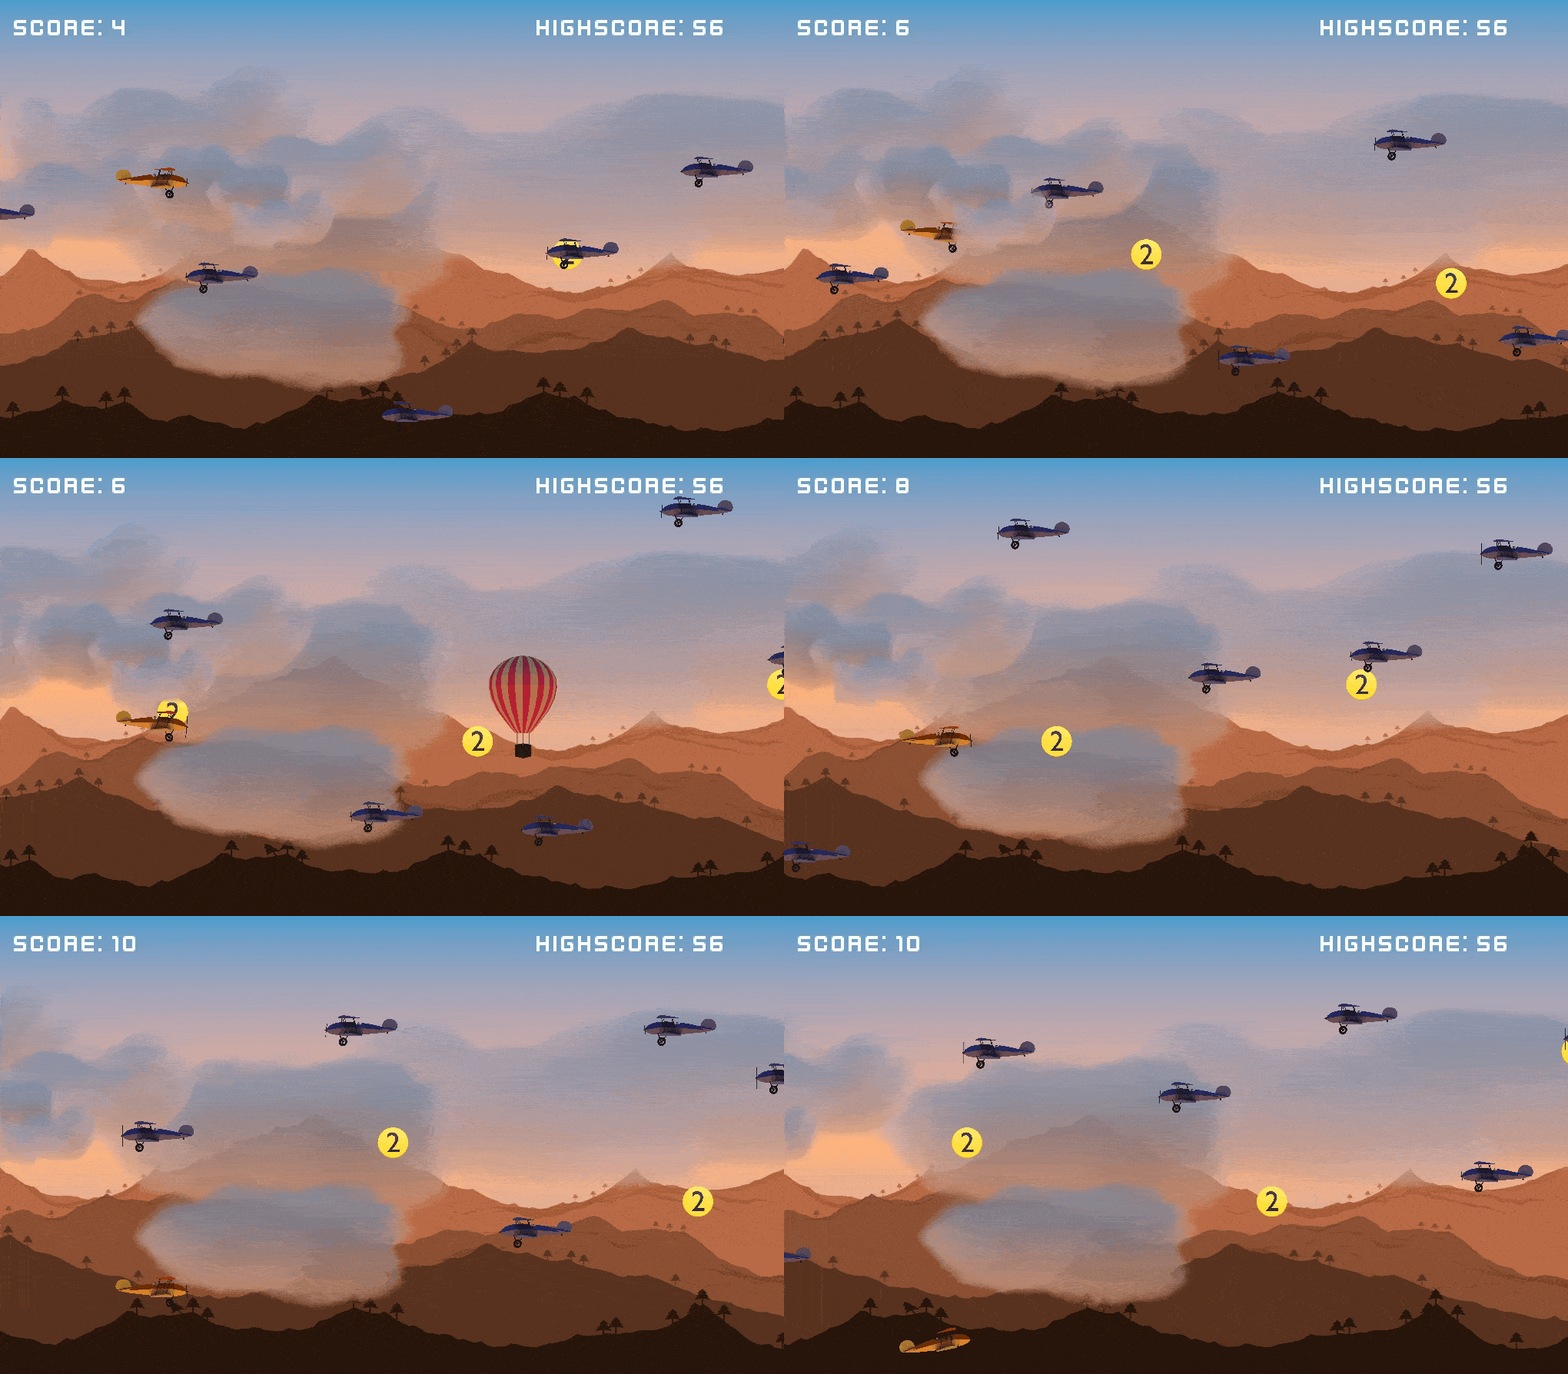
We will create:
- An airplane that can only move up or down.
- Enemy airplanes that spawn outside the screen and move left towards the player.
- Coins will also spawn outside the screen and move left. Coins will spawn in horizontal or diagonal patterns.
- When player touches a coin, it increments its
coins. - Player can shoot the enemy planes with bullets.
- When player shoots the enemy, its
killsincrease. - Game over screen shows after we die (by hitting enemy plane).
Setting up the Project
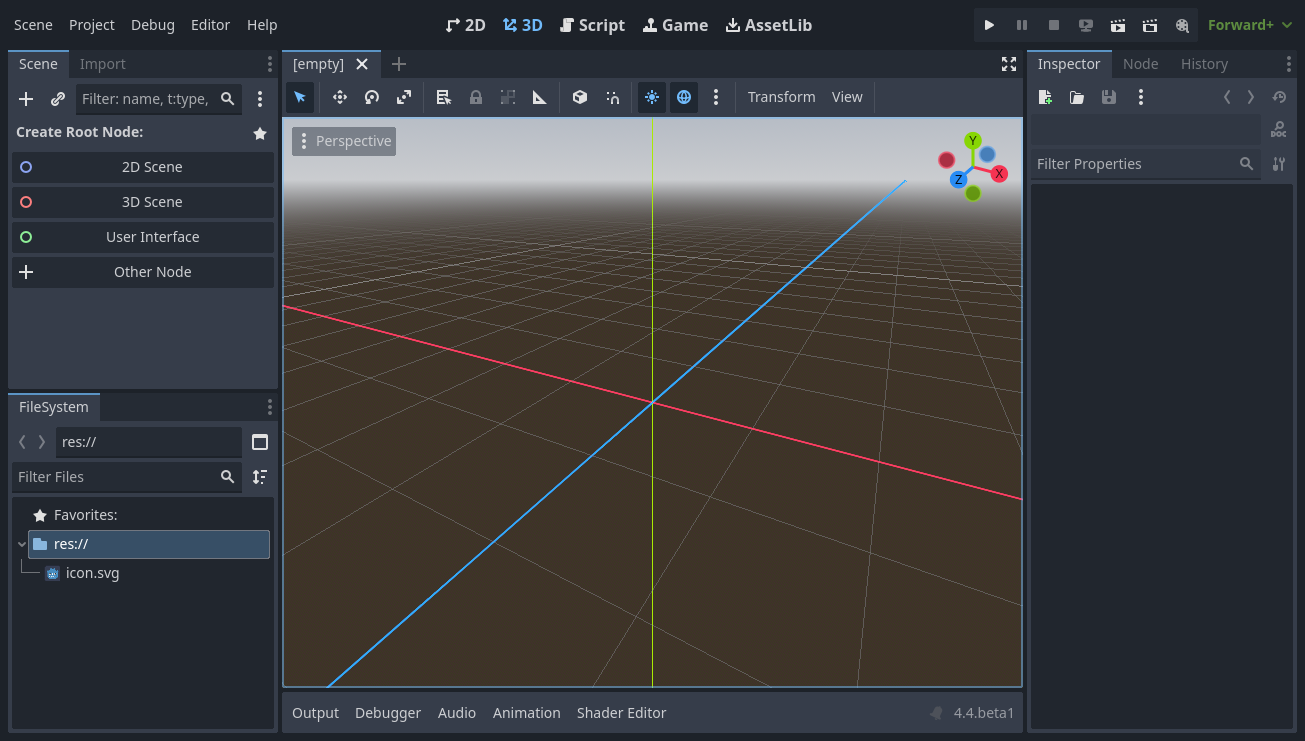
Download Godot Engine. Open it, and create a new project named “2D Airplane Game”. Once the project created, you should see this:
Creating an Airplane Player
What we need in Player?
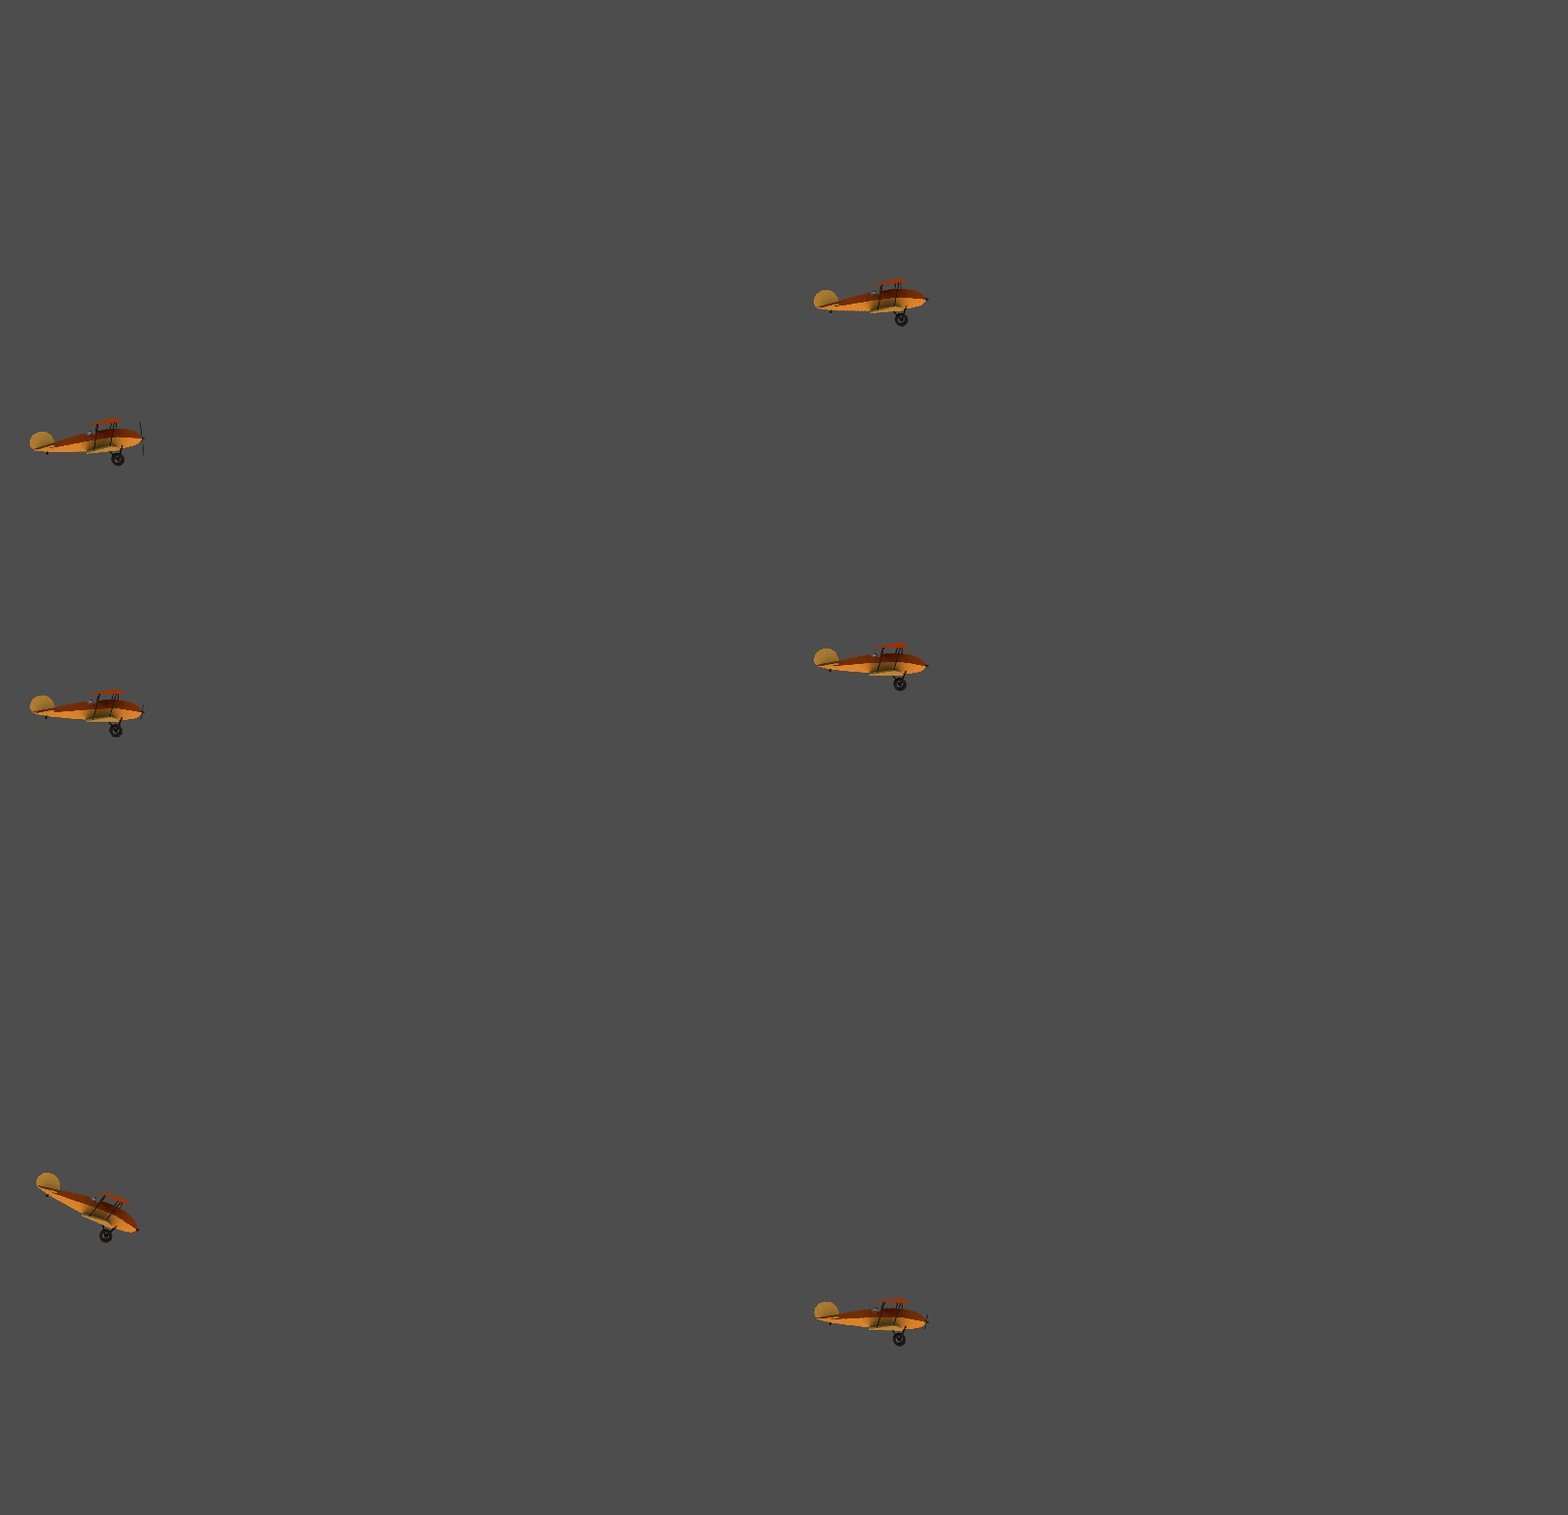
We want player to be an airplane, that should only move up and down and never forward or backwards. Also, we want the plane to behave in a smooth way so we want to utilize Newtonian physics to control its motion. Instead of directly setting position, we will apply forces to it, and it will move in the physics-based way. Thus we will achieve a more physics-like effect which makes the mechanics a bit better to play with.
Making the Player in Godot
Make its Scene:
We will create our player as a separate scene so the player can be re-used. This is how the default file-system view looks like:
Using mouse-right-click, make a folder in this file-system, and name it “Player”. In this folder, make a scene also named “Player”. Double click to open the scene.
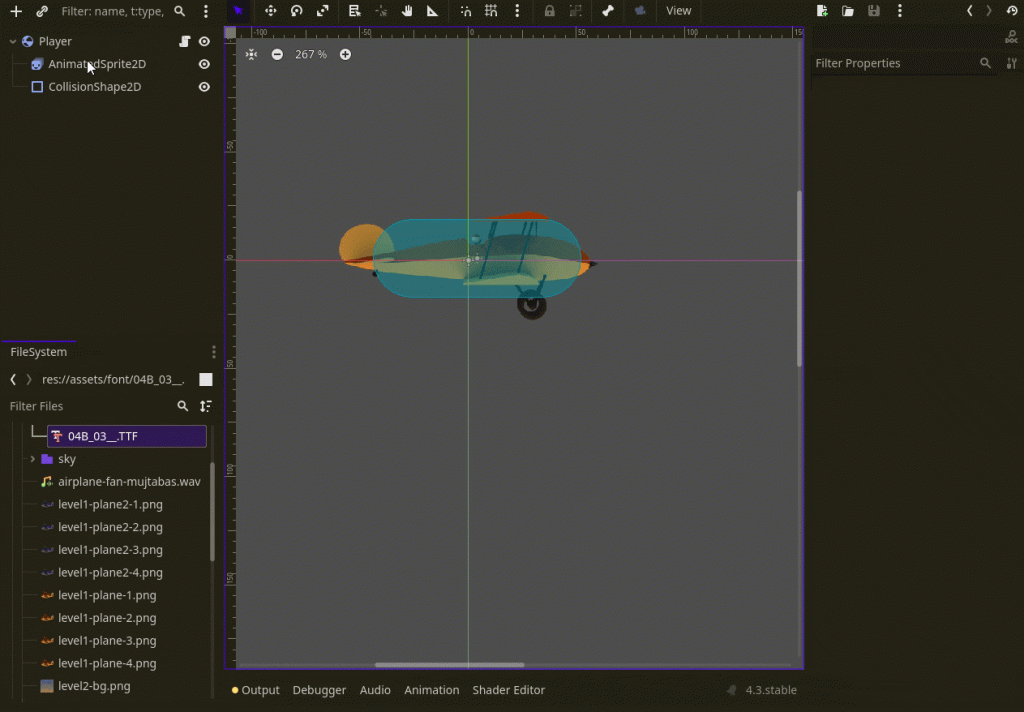
When scene is opened, make sure the data-type of root node is RigidBody2D. if not, right-click it to change the type, and set it to RigidBody2D. Also add a CollisionShape2D node and add any of the collision shape such as box, capsule or a circle.
Creating Airplane Sprite:
To visualize the player as a biplane, we have to add an AnimatedSprite2D node as child of the parent rigid-body. Under the default animation, add images/frames for bi-plane.
The scene, and the overall result looks like this:
Adding functionality using GDScript code:
So far we made the player scene. We want the player animated-sprite to play the animation. We also want to move up and down when player presses the buttons. And we want the plane to rotate/tilt when moving up or down. For this, add a script to the root RigidBody2D node:
Player.gd:
extends RigidBody2D

var speed: float = 64 * 0.4


func _ready():
	animated_sprite = $AnimatedSprite2D


func _physics_process(delta):

	animated_sprite.play("default")
	if Input.is_action_pressed("ui_up"):
		apply_central_impulse(Vector2(0, -mass * speed))
		animated_sprite.rotation = lerp_angle(animated_sprite.rotation, deg_to_rad(-30), 0.1)
	else:
		if animated_sprite.rotation < 0:
			animated_sprite.rotation = lerp_angle(animated_sprite.rotation, deg_to_rad(0), 0.1)
	if Input.is_action_pressed("ui_down"):
		apply_central_impulse(Vector2(0, mass * speed))
		animated_sprite.rotation = lerp_angle(animated_sprite.rotation, deg_to_rad(30), 0.1)
	else:
		if animated_sprite.rotation > 0:
			animated_sprite.rotation = lerp_angle(animated_sprite.rotation, deg_to_rad(0), 0.1)
Above script achieves the upward motion by calling rigid-body’s apply_central_impulse(), this function pushes the body to the given direction. Also, we rotate the airplane using lerp_angle() so it tilts smoothly.
Making Quick Level to Test Player
Make another folder named “World” with a scene. And instantiate the Player scene inside it (to instance a scene in Godot, right click on the root node of the Level & press ‘Instantiate Child Scene’). The test level should look like this:
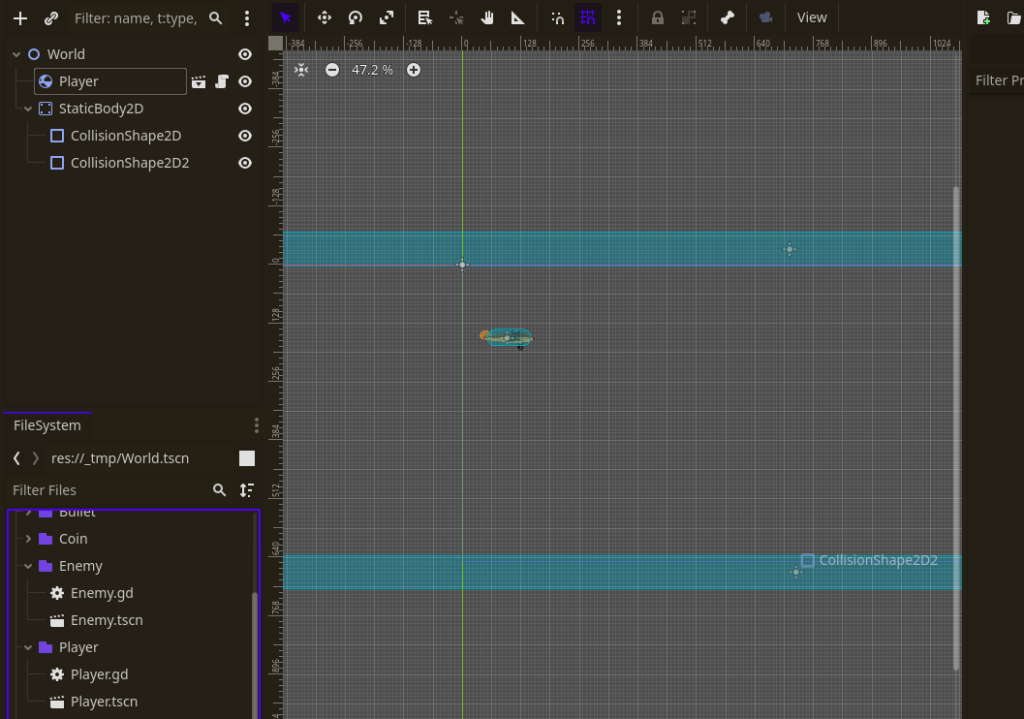
When you test the player by playing the game, you will notice that the jump speed, gravity and so on of player could be weird. For this, we have to tweak the gravity-scale value for the player rigid-body (in Player scene). I’ve set the gravity scale to almost 0.0, so gravity does not effect the player at all. Tweak the values and test until you get desired results:
Making the Enemy Planes
Enemies are also similar planes. Their scene structure is same as that of our player, but only difference could be the use of different sprite-sheet for their animation (different kind of airplane). And that their direction is different from player (player points to right but it points to left). You can change the direction by setting the scale of your root node to (-1, 1) rather than default (1, 1).
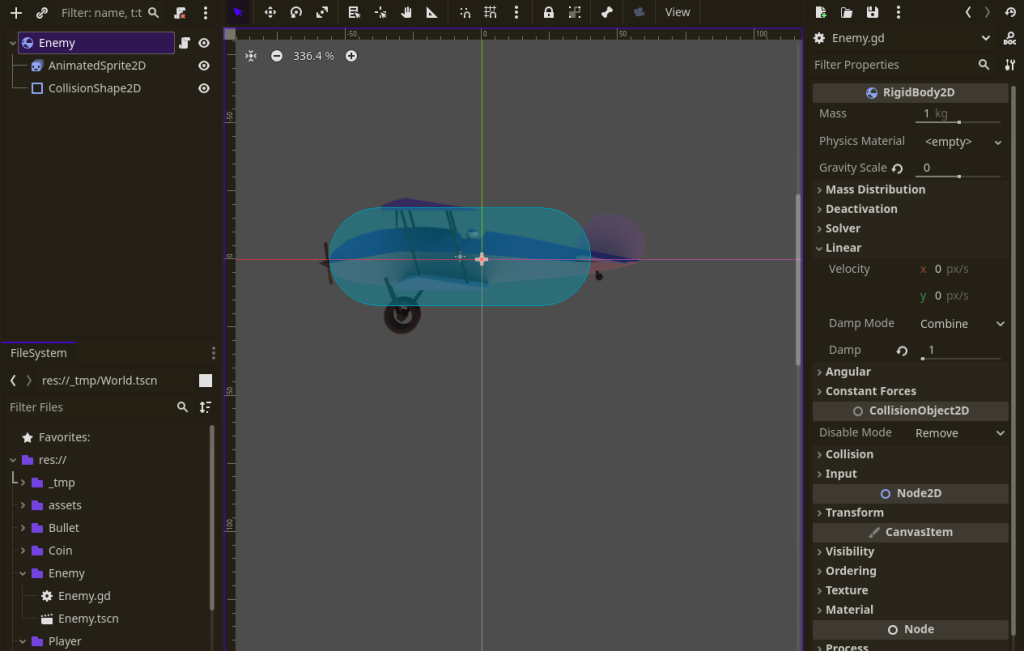
However the script of the enemy is different but much simpler (it just moves the enemy to left using the impulse applied at every frame towards left direction):
Enemy.gd:
extends RigidBody2D


var speed: float = 10


func _physics_process(delta):
	$AnimatedSprite2D.play("default")
	apply_central_impulse(Vector2(-mass * speed, 0))

	if position.x < -32:
		queue_free()
In above code, we also queue_free() the enemy (to remove it from game) when its position is less than 0.0 (outside the camera in our case, as our camera’s leftmost extent is 0.0).
Spawning Enemy in Level
We want to spawn enemies after every second so they continuously get spawned and move to left. The enemy script (above) will take care of removing them and freeing their memory once they are out of screen bounds.
The approach I am using is simple: just add a fixed timer of 1 second & spawn an enemy after the 1 second time has elapsed & then start the timer again.
For this, we add a Timer node in Godot & set its wait_time property to 1 second & enable autostart. name this timer node EnemySpawnTimer:
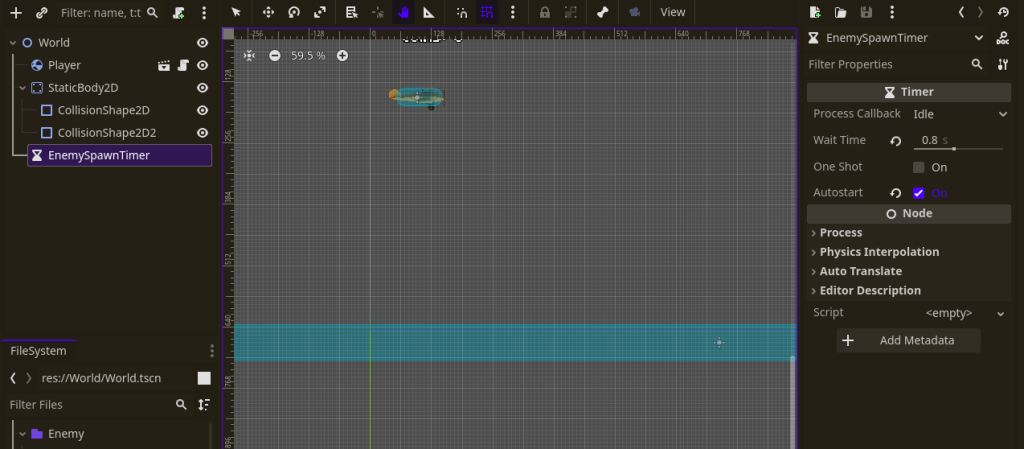
After that, connect timer’s timeout signal in Godot editor to a function (like this):

Connect button and connect the signal to a function. So a function gets called whenever this timer’s time-out has happened (i.e., it has elapsed all the time).And in the function (whose name looks like _on_enemy_spawn_timer_timeout()), add the code to spawn the player, and add it to the Level scene tree:
Level.gd:
# Add this on top
@export var enemy_scene: PackedScene
@export var spawn_offset: float = 64 # How much distance from the right edge of the screen
# Now assign the Enemy.tscn scene in inspector (see image below)


# And in this function:
func _on_enemy_spawn_timer_timeout():
	var enemy = enemy_scene.instantiate()
	add_child(enemy)
	enemy.position.x = get_viewport().size.x + spawn_offset
	enemy.position.y = randf_range(28, get_viewport().size.y - 28)

@export keyword, the variable appears on the inspector so you can assign its vale there. Now for enemy scene, assign its value to be the Enemy.tscn sceneIn above code, the x position is fixed to be some distance away from the right-edge of screen viewport, but y-position is selected as random from top of screen to the bottom.
Now run the game to see how enemies spawn on right, the enemy scene itself causes it to travel to left & finally frees the memory once it crosses the screen bounds to the left.
Add an Infinite Scrolling Background to the Level
To add parallax effect to the background, so the background moves in layers, where the first layer moves with fast speed, and successive layers move with lower and lower speed, the technique is moving multiple images with variable speeds.
In Godot, we do this by adding ParallaxBackground node. and under this, create ParallaxLayers nodes, and create Sprite or TextureRect nodes under them (with the sky textures):

Now in code, we have to move each layer with different velocities. Here is how it is done:
# Explore parallax background properties, motion_offset is one of them

func _process(delta):
	$ParallaxBackground.scroll_offset = Vector2(0, 0)
	$ParallaxBackground/ParallaxLayer.motion_offset += Vector2(-0.15, 0)
	$ParallaxBackground/ParallaxLayer2.motion_offset += Vector2(-0.3, 0)
	$ParallaxBackground/ParallaxLayer3.motion_offset += Vector2(-0.6, 0)
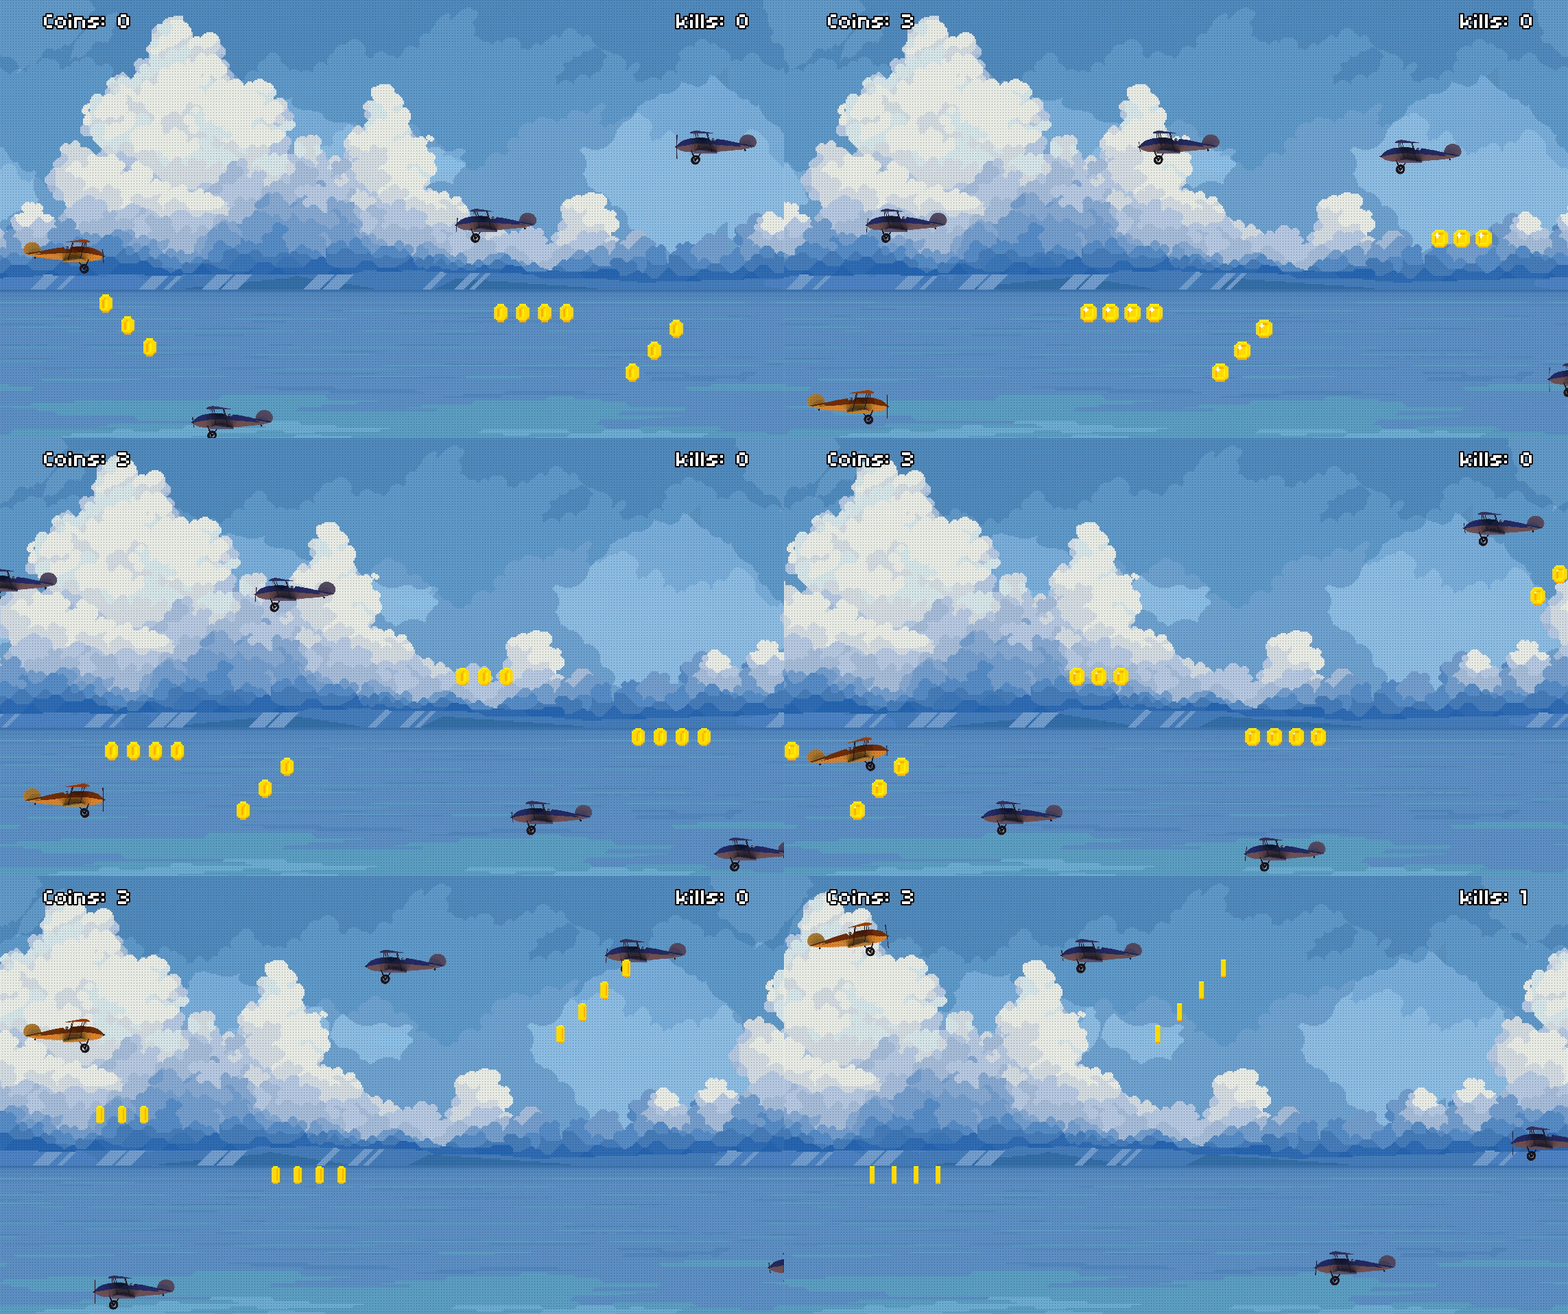
Now run your scene and see the results (make sure to set the sprite’s texture’s repeat property to ‘enabled’). The results start looking like the cover-photo on top of this post.
Part 2
Player motion mechanics, enemy spawn system, infinite-scrolling background, and a basic level system is made. In Part 2 of this tutorial, we will see how to make coins spawn in game, how to spawn bullets by the player and move the bullets forward. How to kill the enemy when bullet hits it, and game-over logic if player has been knocked out of the screen bounds.
Some of these things are made with the Area2D nodes and are similar in how they are made.

6 responses to “Making 2D Airplane Shooter Game in Godot”
Hello! Loving the tutorial. I got a little lost with the EnemySpawnTimer….I get how to connect the timeout() signal to a script, but it’s not clear to me where you want to add it. The text indicates you have a level.gd script? Where is that? Did you mean world.gd script or what am I missing?
Hello. I’m happy that you liked the tutorial! – Yes, the Level.gd is same is World.gd. Basically, it is up-to you to name your scripts however you want. All that matters is that the script should be applied on the root node, so you can reference nodes under it easily using the dollar-sign (like this: $EnemySpawnTimer).
Thank you!
I’m sure it is because I did something wrong, but I had trouble with the Parallax background. It kept scrolling off the screen even though I had the Texture Repeat flag enabled. I eventually got it to work, but had to use Motion -> Mirroring in the ParallaxLayer Inspector and set it to the screen width, then it seemed to work.
Just letting you know my personal experience. Thanks again for this tutorial!
Nice tutorial! However, I’m really struggling to figure out the proper way to flip the airplane sprite to be facing to right. What am I missing?
Thanks in advance
Hello. You can set its scale to -1 only in X-axis. (Go to inspector and find “scale” property somewhere near position and rotation, and then set its x-axis scale value to -1 instead of 1.
If it changes other axes to -1 too, then it is because of that little button on top-right of this property that has locked it this way.